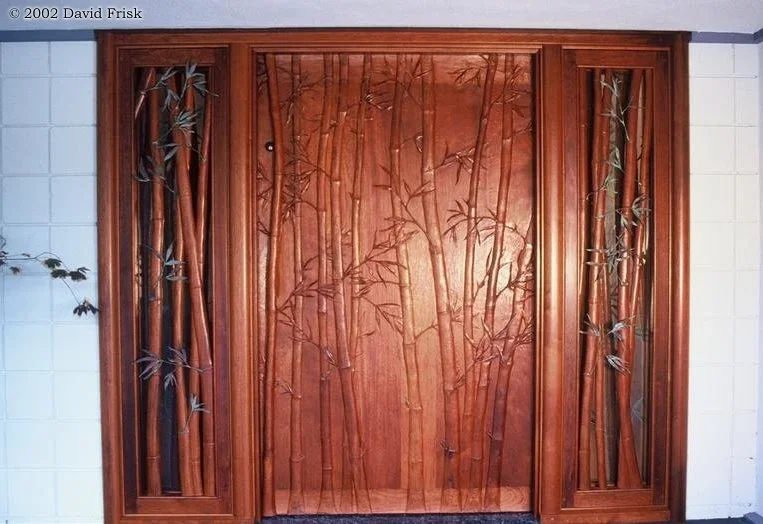
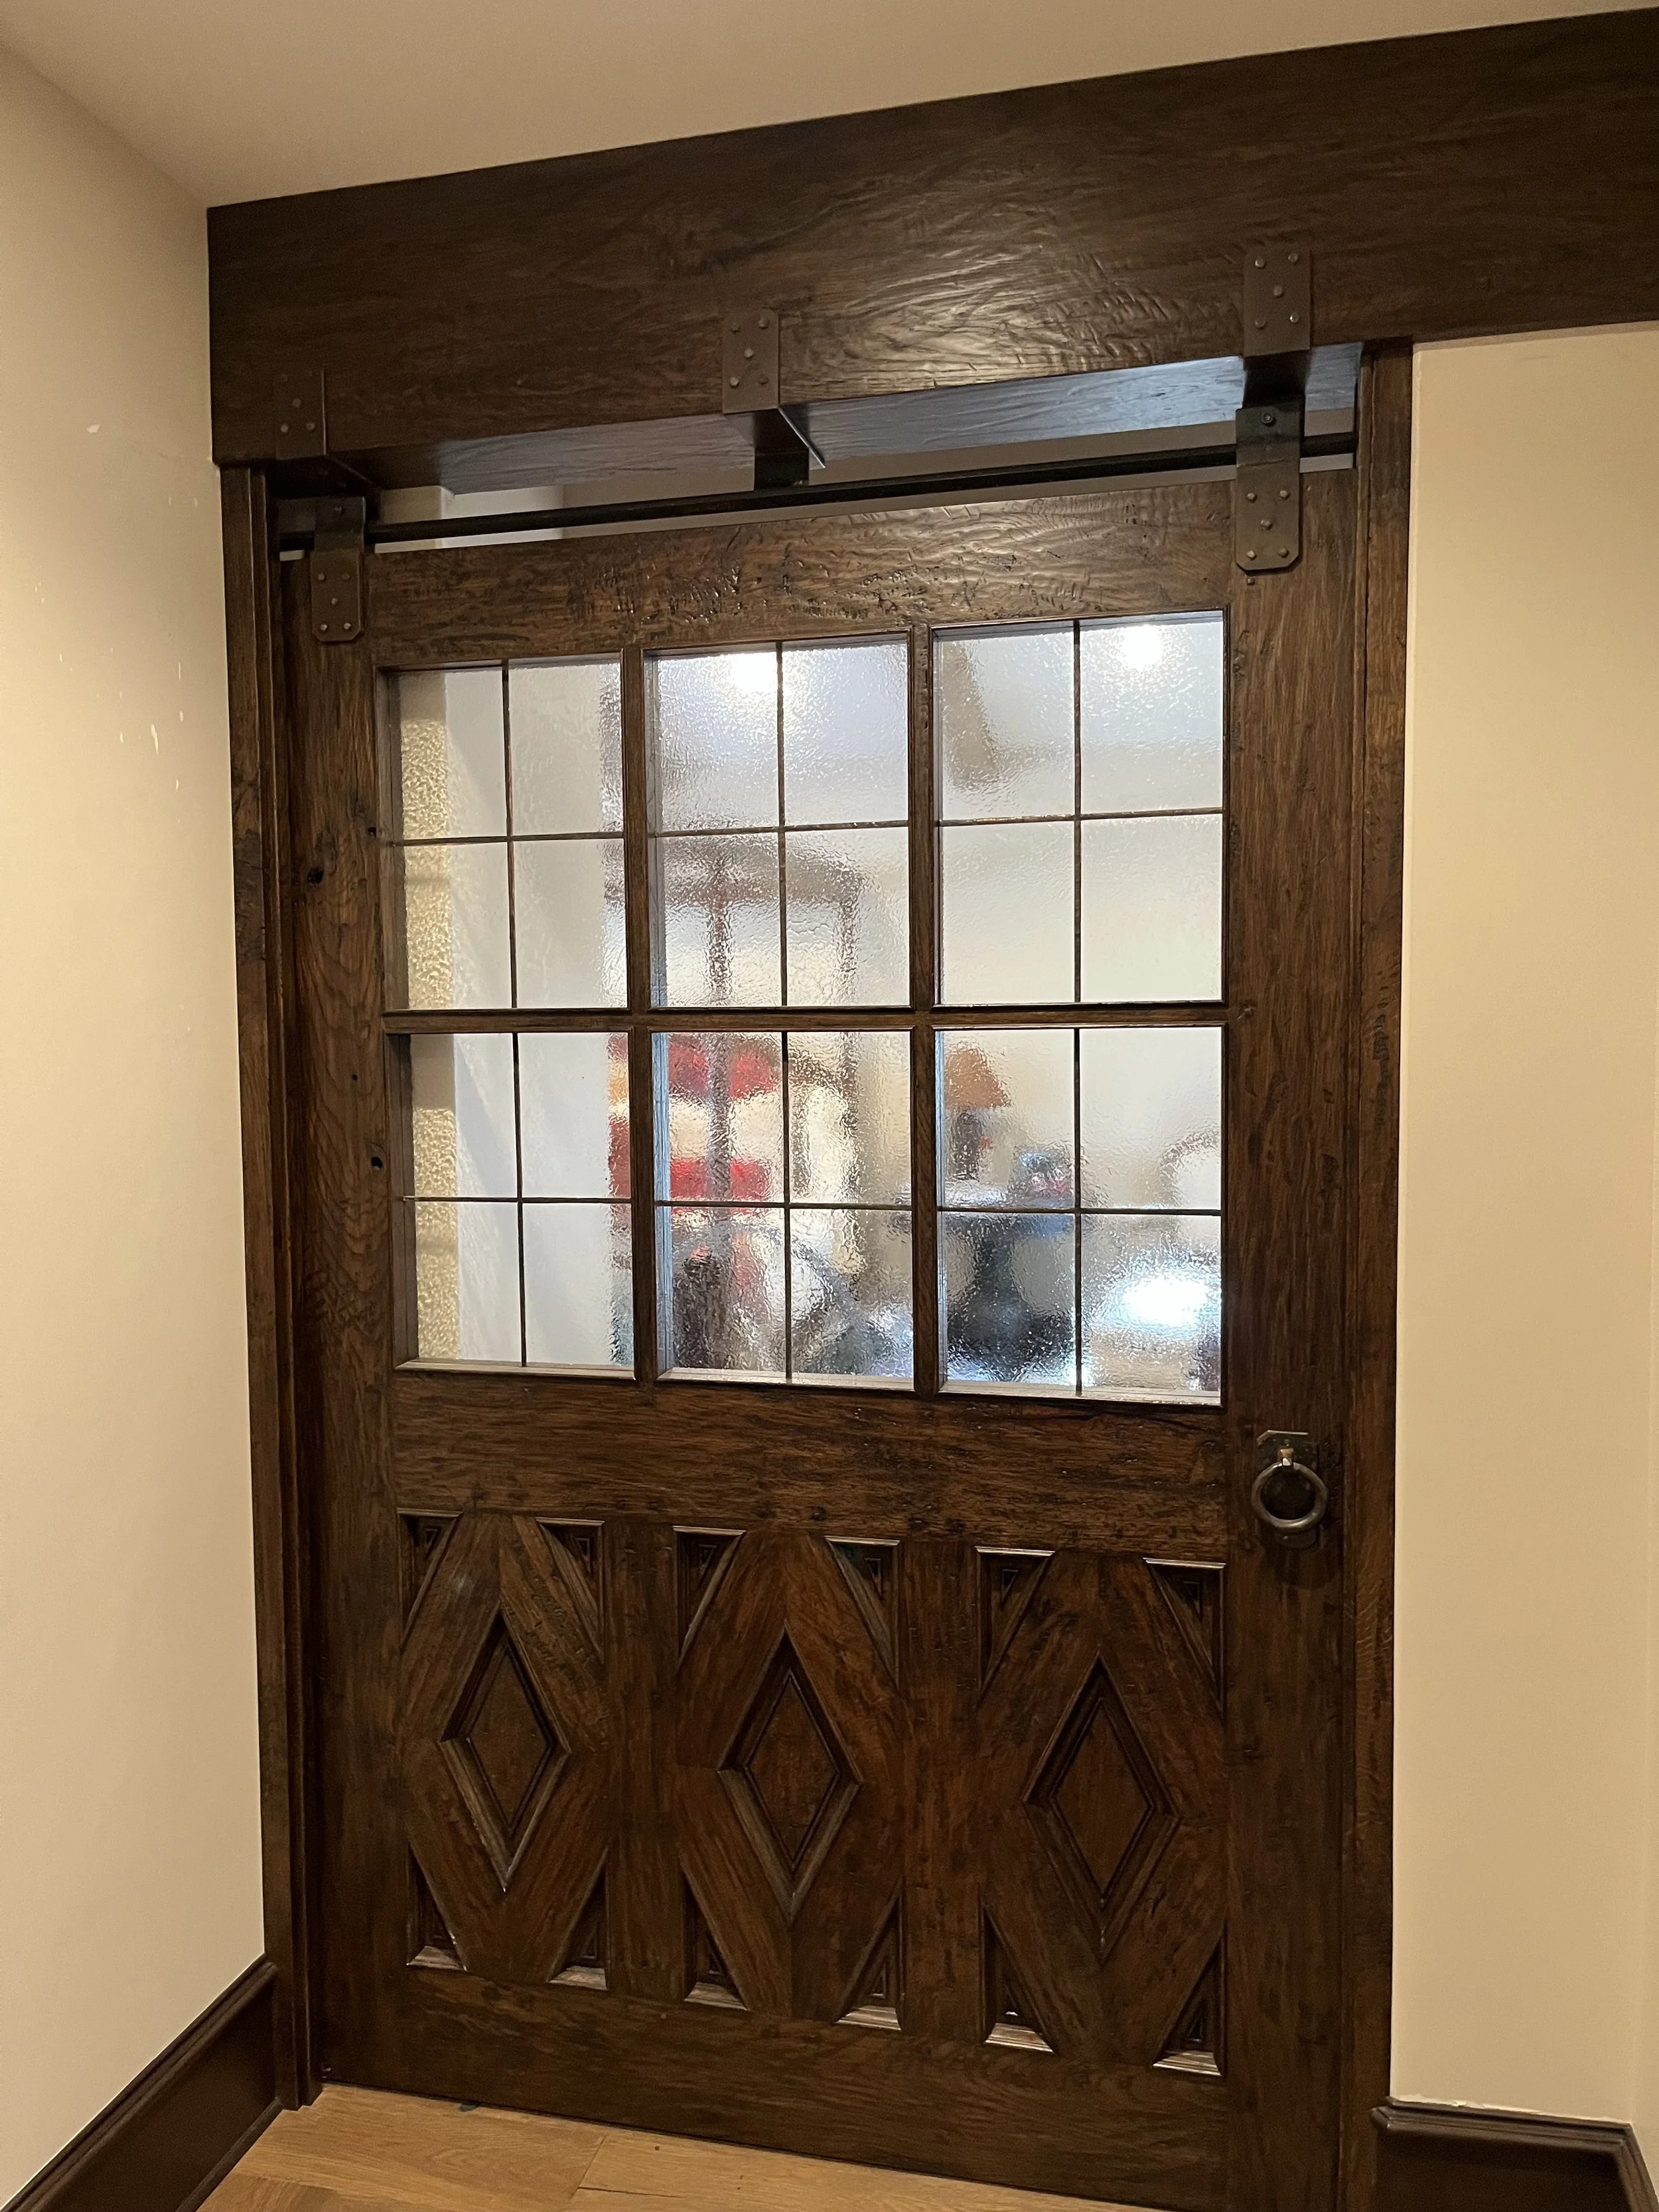
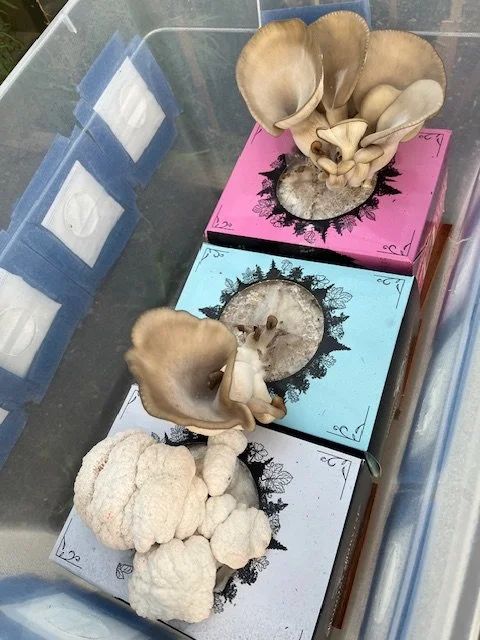
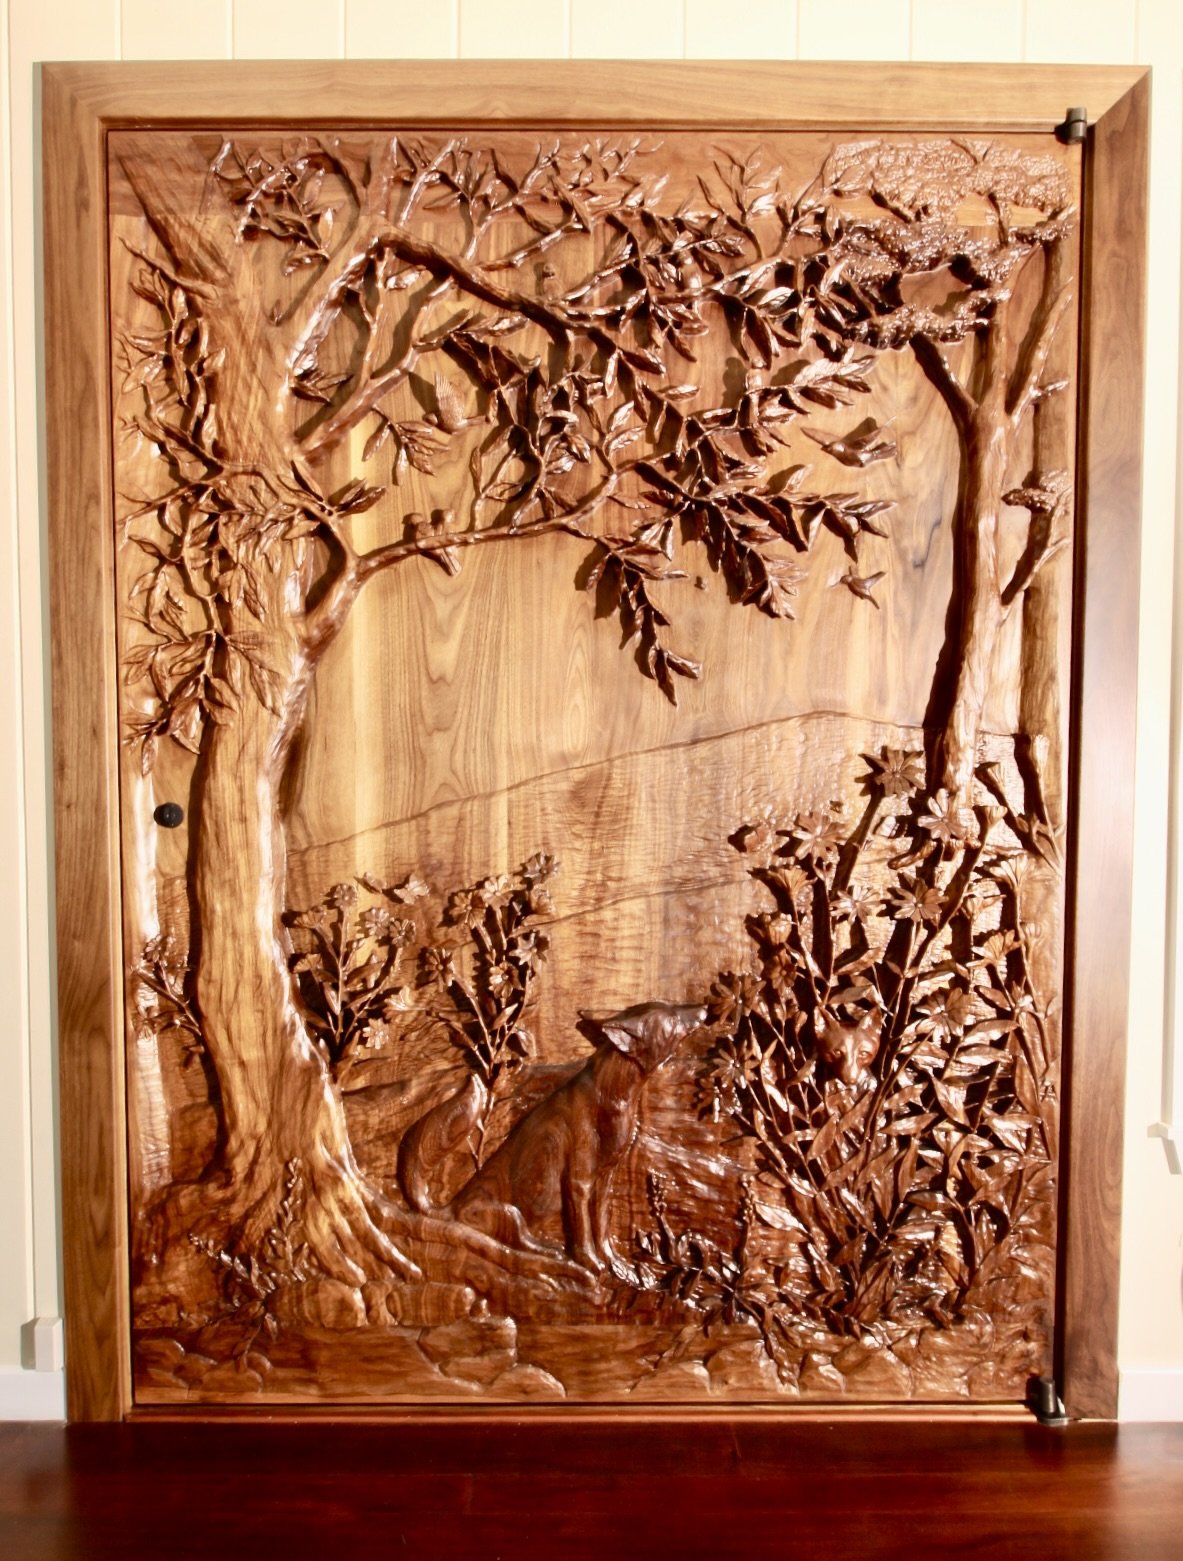
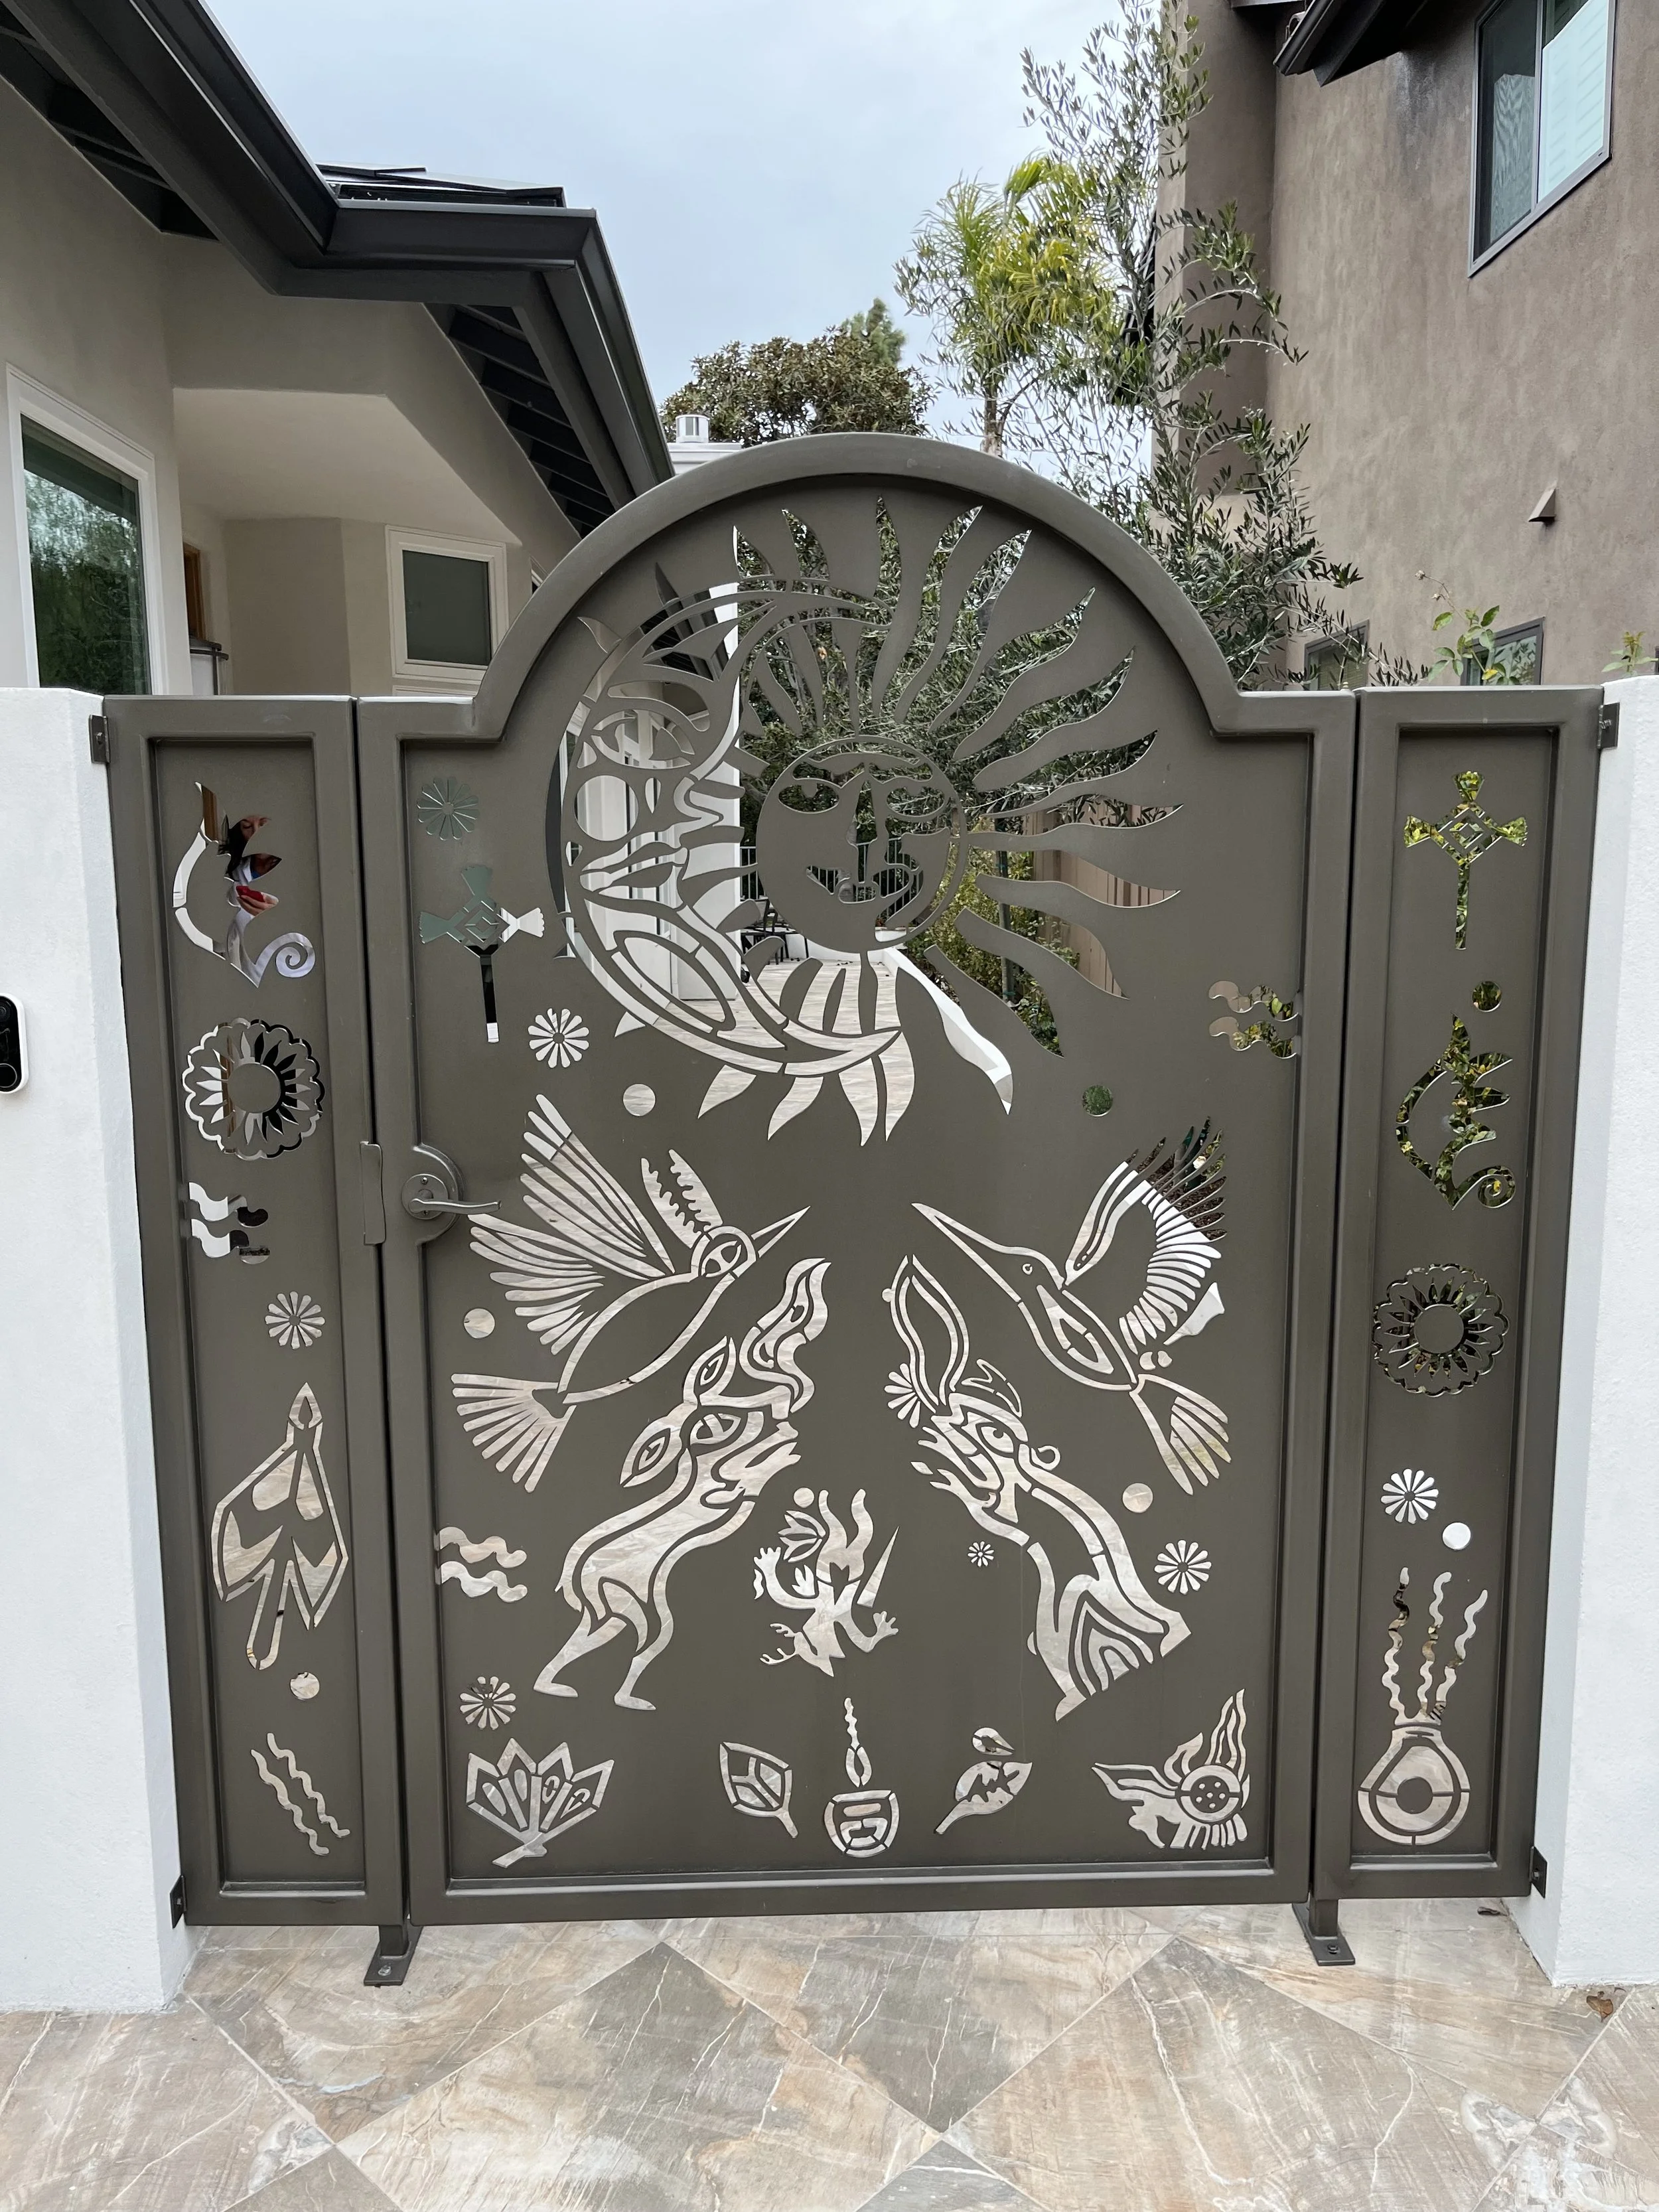
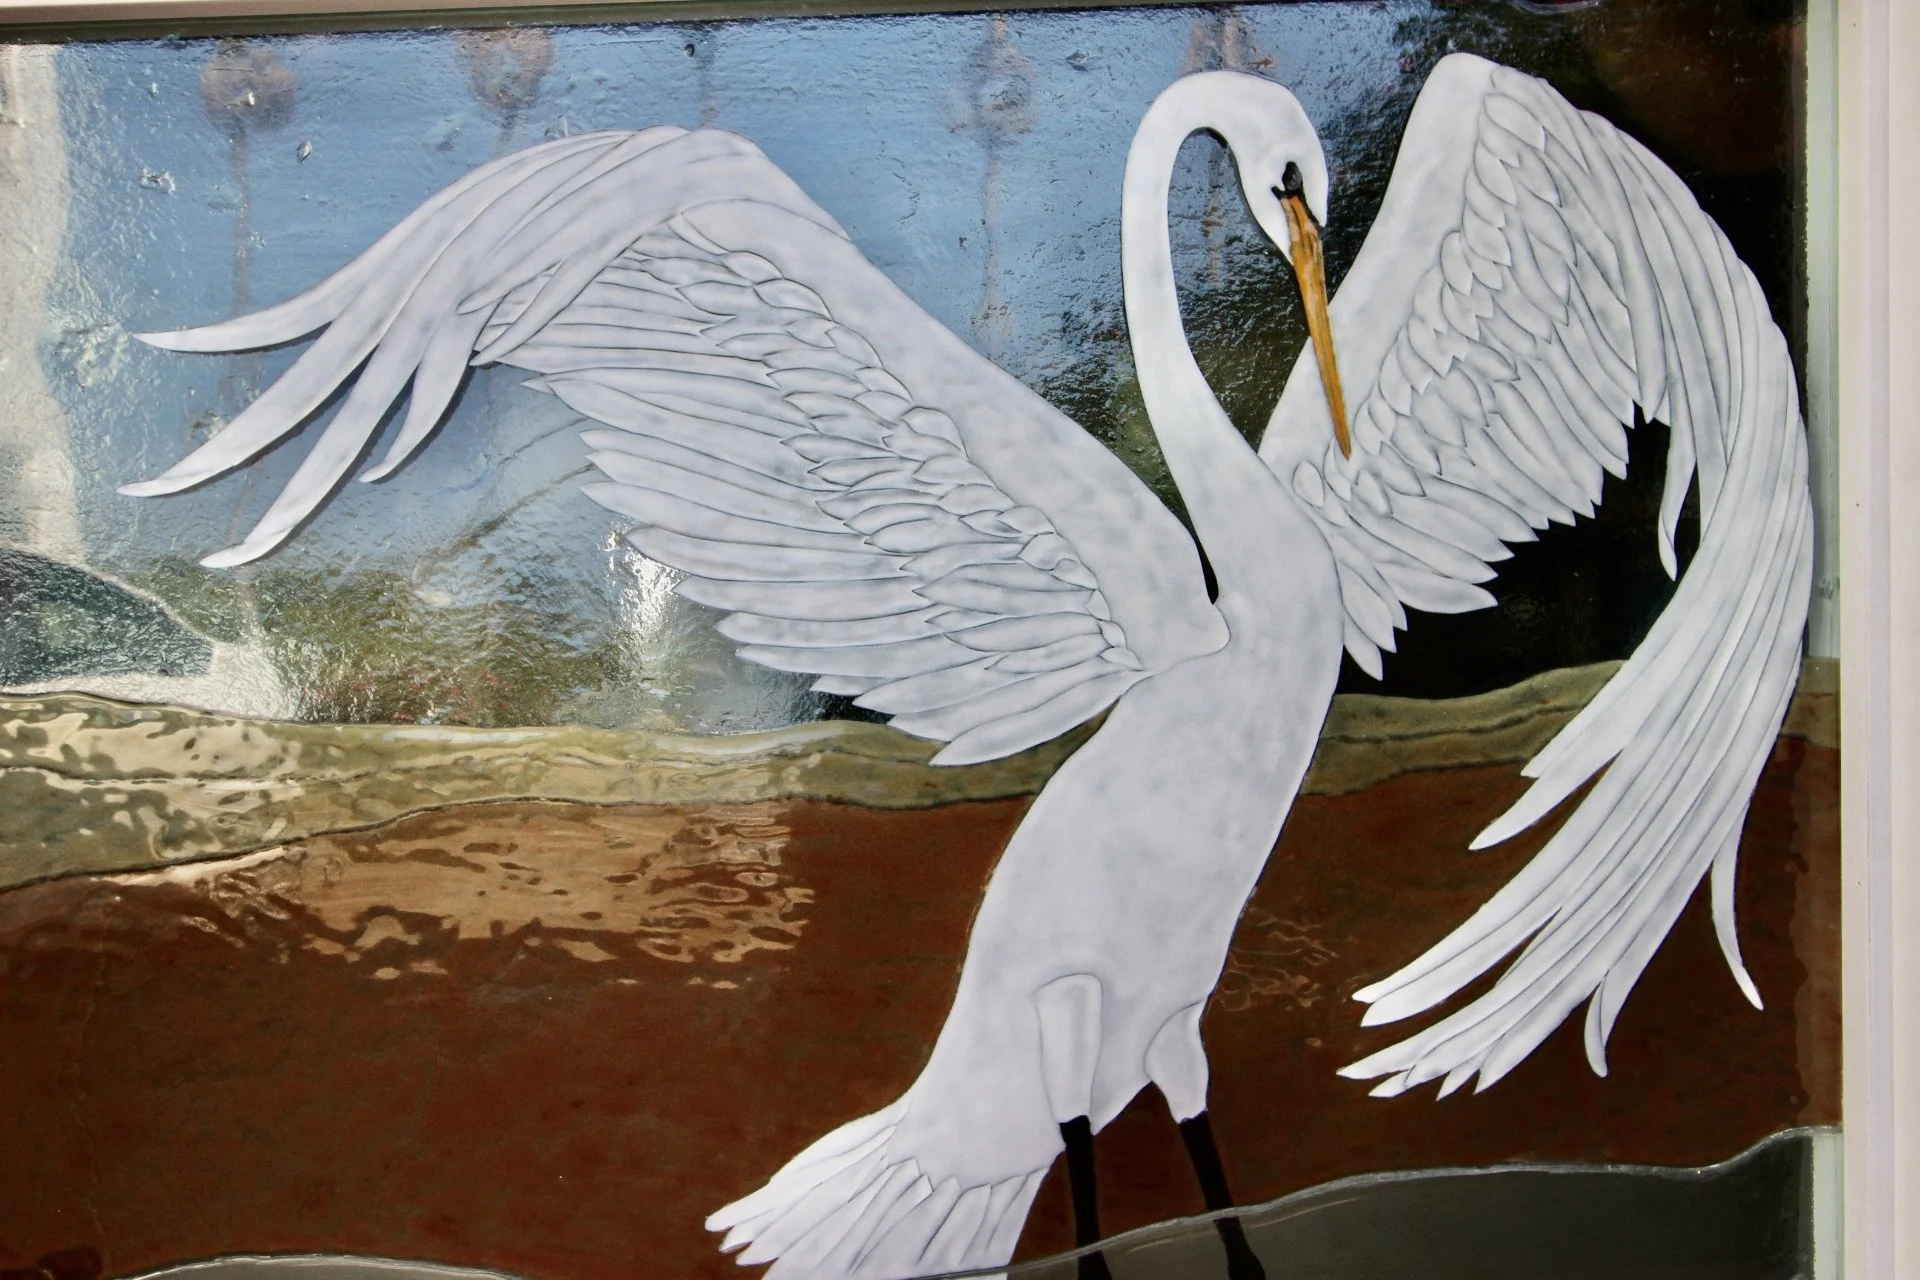
Doors Furniture Built-In's Kitchens Bathrooms Wine Cellars & Bars Other Build-in's / Architectural Millwork Staircases Mantels Glass & Metal Arts Glass Arts Sculptures & Metal Arts Lighting Commercial Installations Laura Frisk 6/17/26 Laura Frisk 6/17/26 Japanese-Styled Entryway in Point Loma, CA Read More Laura Frisk 6/17/26 Laura Frisk 6/17/26 17th to 18th Century European Wardrobe Cabinets Reproduced Read More Laura Frisk 6/17/26 Laura Frisk 6/17/26 In My Garden: Strawberries Read More Laura Frisk 4/27/26 Laura Frisk 4/27/26 Locally Sourced Black Oak Trees for a Laguna Beach Home Read More Laura Frisk 4/27/26 Laura Frisk 4/27/26 Julian, California: Bathroom and Night Stands Read More Laura Frisk 4/27/26 Laura Frisk 4/27/26 In My Garden: Root Vegetables Read More Derek Pruitt 3/16/26 Derek Pruitt 3/16/26 In My Garden: Mushrooms Read More Laura Frisk 3/16/26 Laura Frisk 3/16/26 A Polynesian-Inspired Staircase in San Diego, California Read More Laura Frisk 3/8/26 Laura Frisk 3/8/26 Entryway in Miami, Florida Read More Derek Pruitt 2/4/26 Derek Pruitt 2/4/26 In My Garden: Sno Peas! Read More Laura Frisk 2/4/26 Laura Frisk 2/4/26 Classic-Style Home in Del Mar, California Read More Laura Frisk 6/4/25 Laura Frisk 6/4/25 Fox Door in Solana Beach, CA Read More Laura Frisk 6/4/25 Laura Frisk 6/4/25 In My Garden: Easy barriers against insects Read More Laura Frisk 12/2/24 Laura Frisk 12/2/24 A San Diego Gate full of Symbolism Read More Laura Frisk 12/2/24 Laura Frisk 12/2/24 Cherimoya Season Read More Laura Frisk 11/26/24 Laura Frisk 11/26/24 Large Screen TV and Stereo Cabinet for a Home in Rancho Santa Fe, California Read More Laura Frisk 1/8/24 Laura Frisk 1/8/24 Memorial Bench at the Coast to Crest River Trail in Del Mar, California Read More Laura Frisk 1/8/24 Laura Frisk 1/8/24 Kauai Bamboo Entry Door Read More Laura Frisk 1/8/24 Laura Frisk 1/8/24 In My Garden: Fruit Trees Read More Laura Frisk 11/9/23 Laura Frisk 11/9/23 Egret Glass Panel Read More Older Posts
Laura Frisk 6/17/26 Laura Frisk 6/17/26 17th to 18th Century European Wardrobe Cabinets Reproduced Read More
Laura Frisk 4/27/26 Laura Frisk 4/27/26 Locally Sourced Black Oak Trees for a Laguna Beach Home Read More
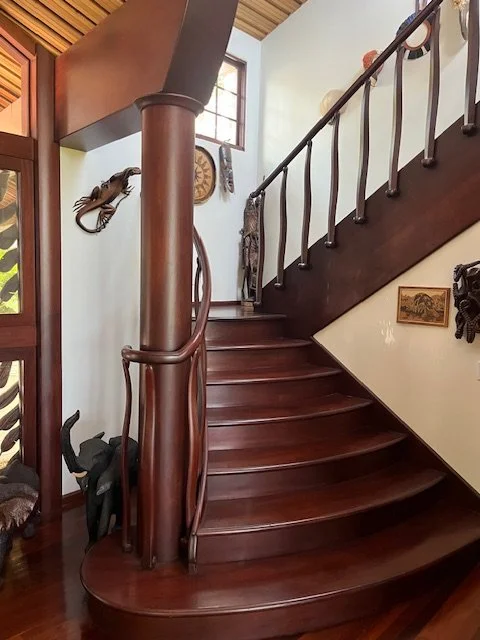
Laura Frisk 3/16/26 Laura Frisk 3/16/26 A Polynesian-Inspired Staircase in San Diego, California Read More
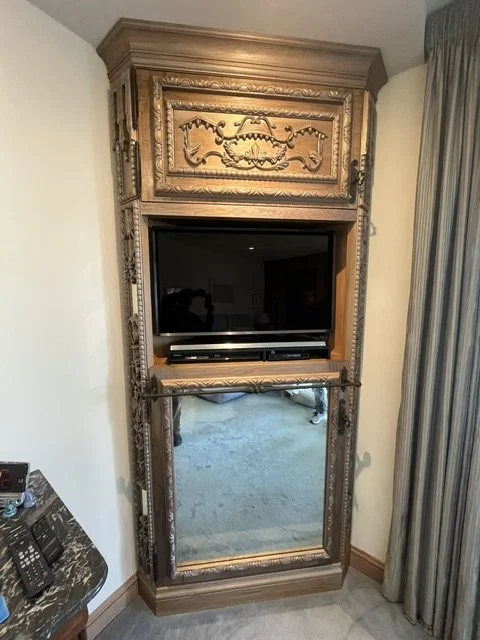
Laura Frisk 11/26/24 Laura Frisk 11/26/24 Large Screen TV and Stereo Cabinet for a Home in Rancho Santa Fe, California Read More
Laura Frisk 1/8/24 Laura Frisk 1/8/24 Memorial Bench at the Coast to Crest River Trail in Del Mar, California Read More