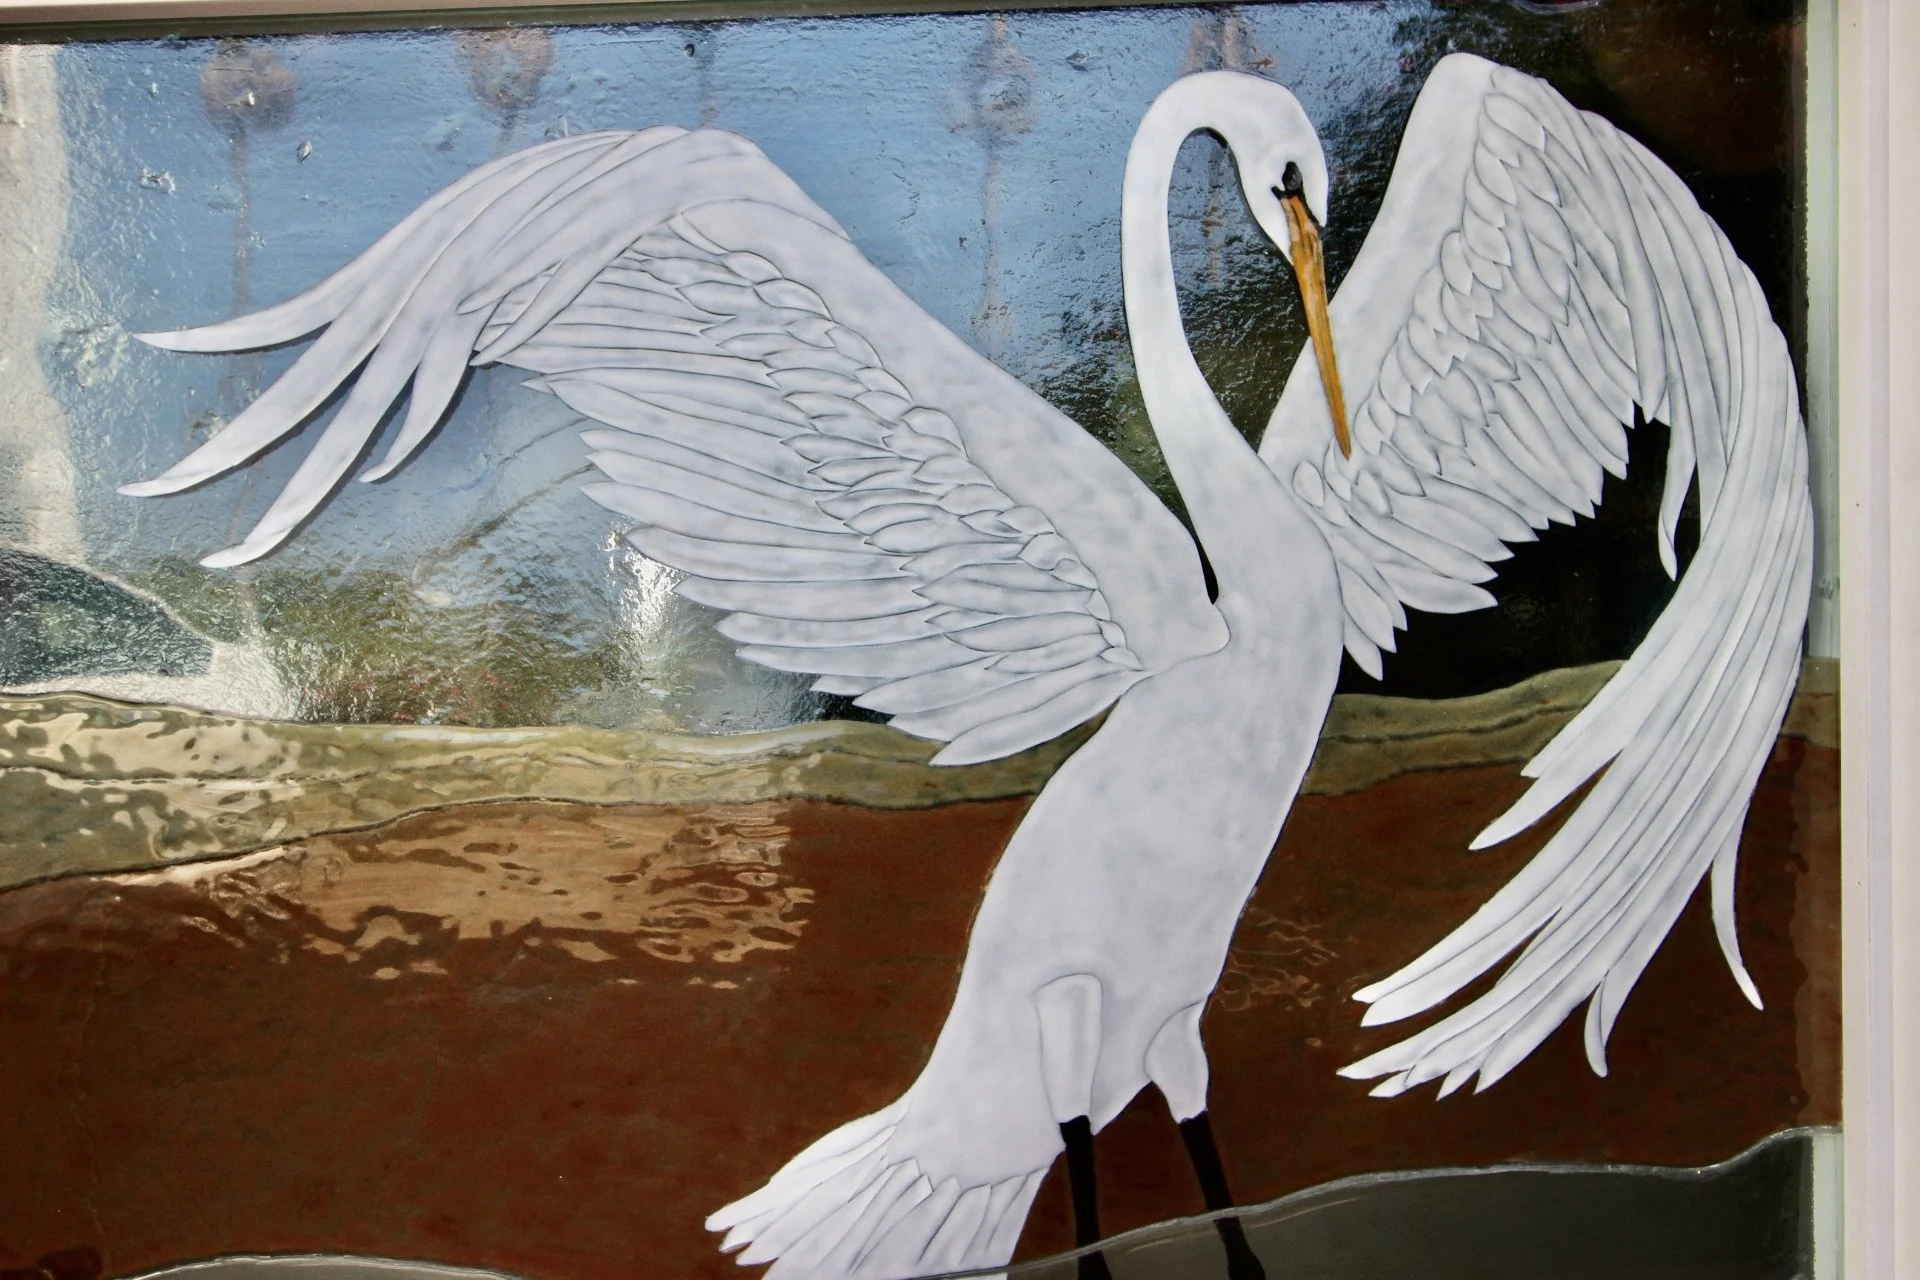
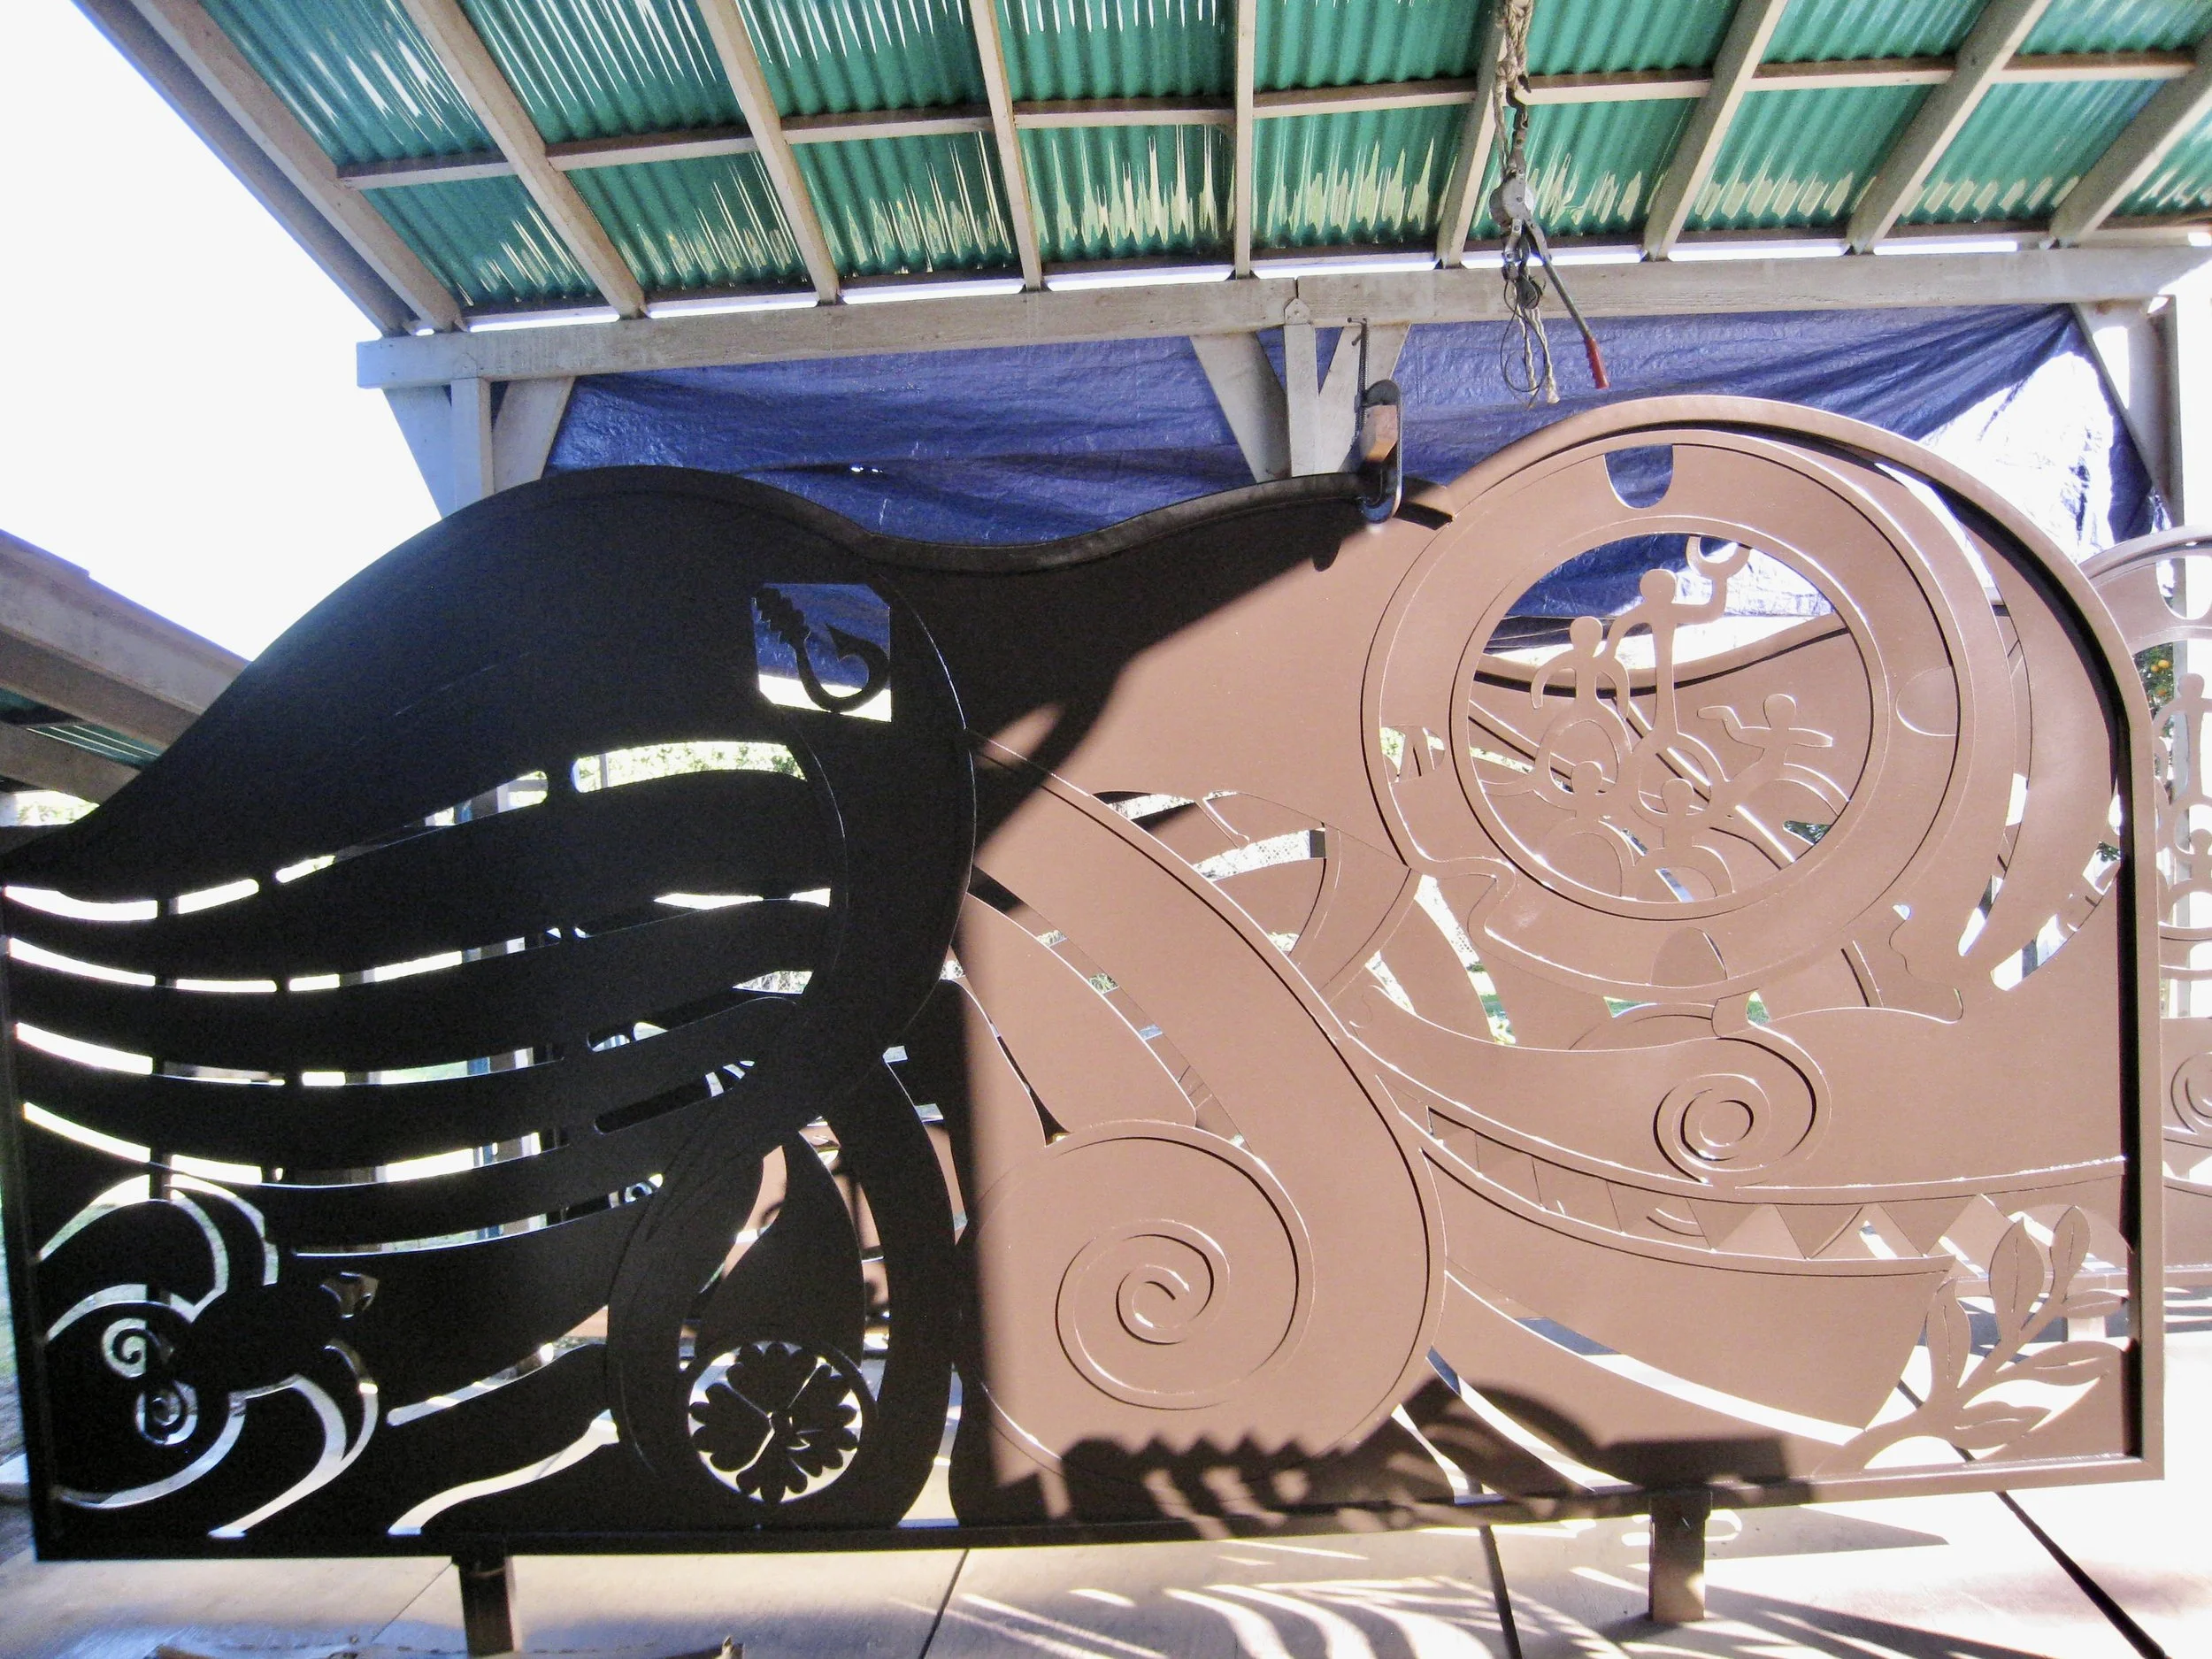
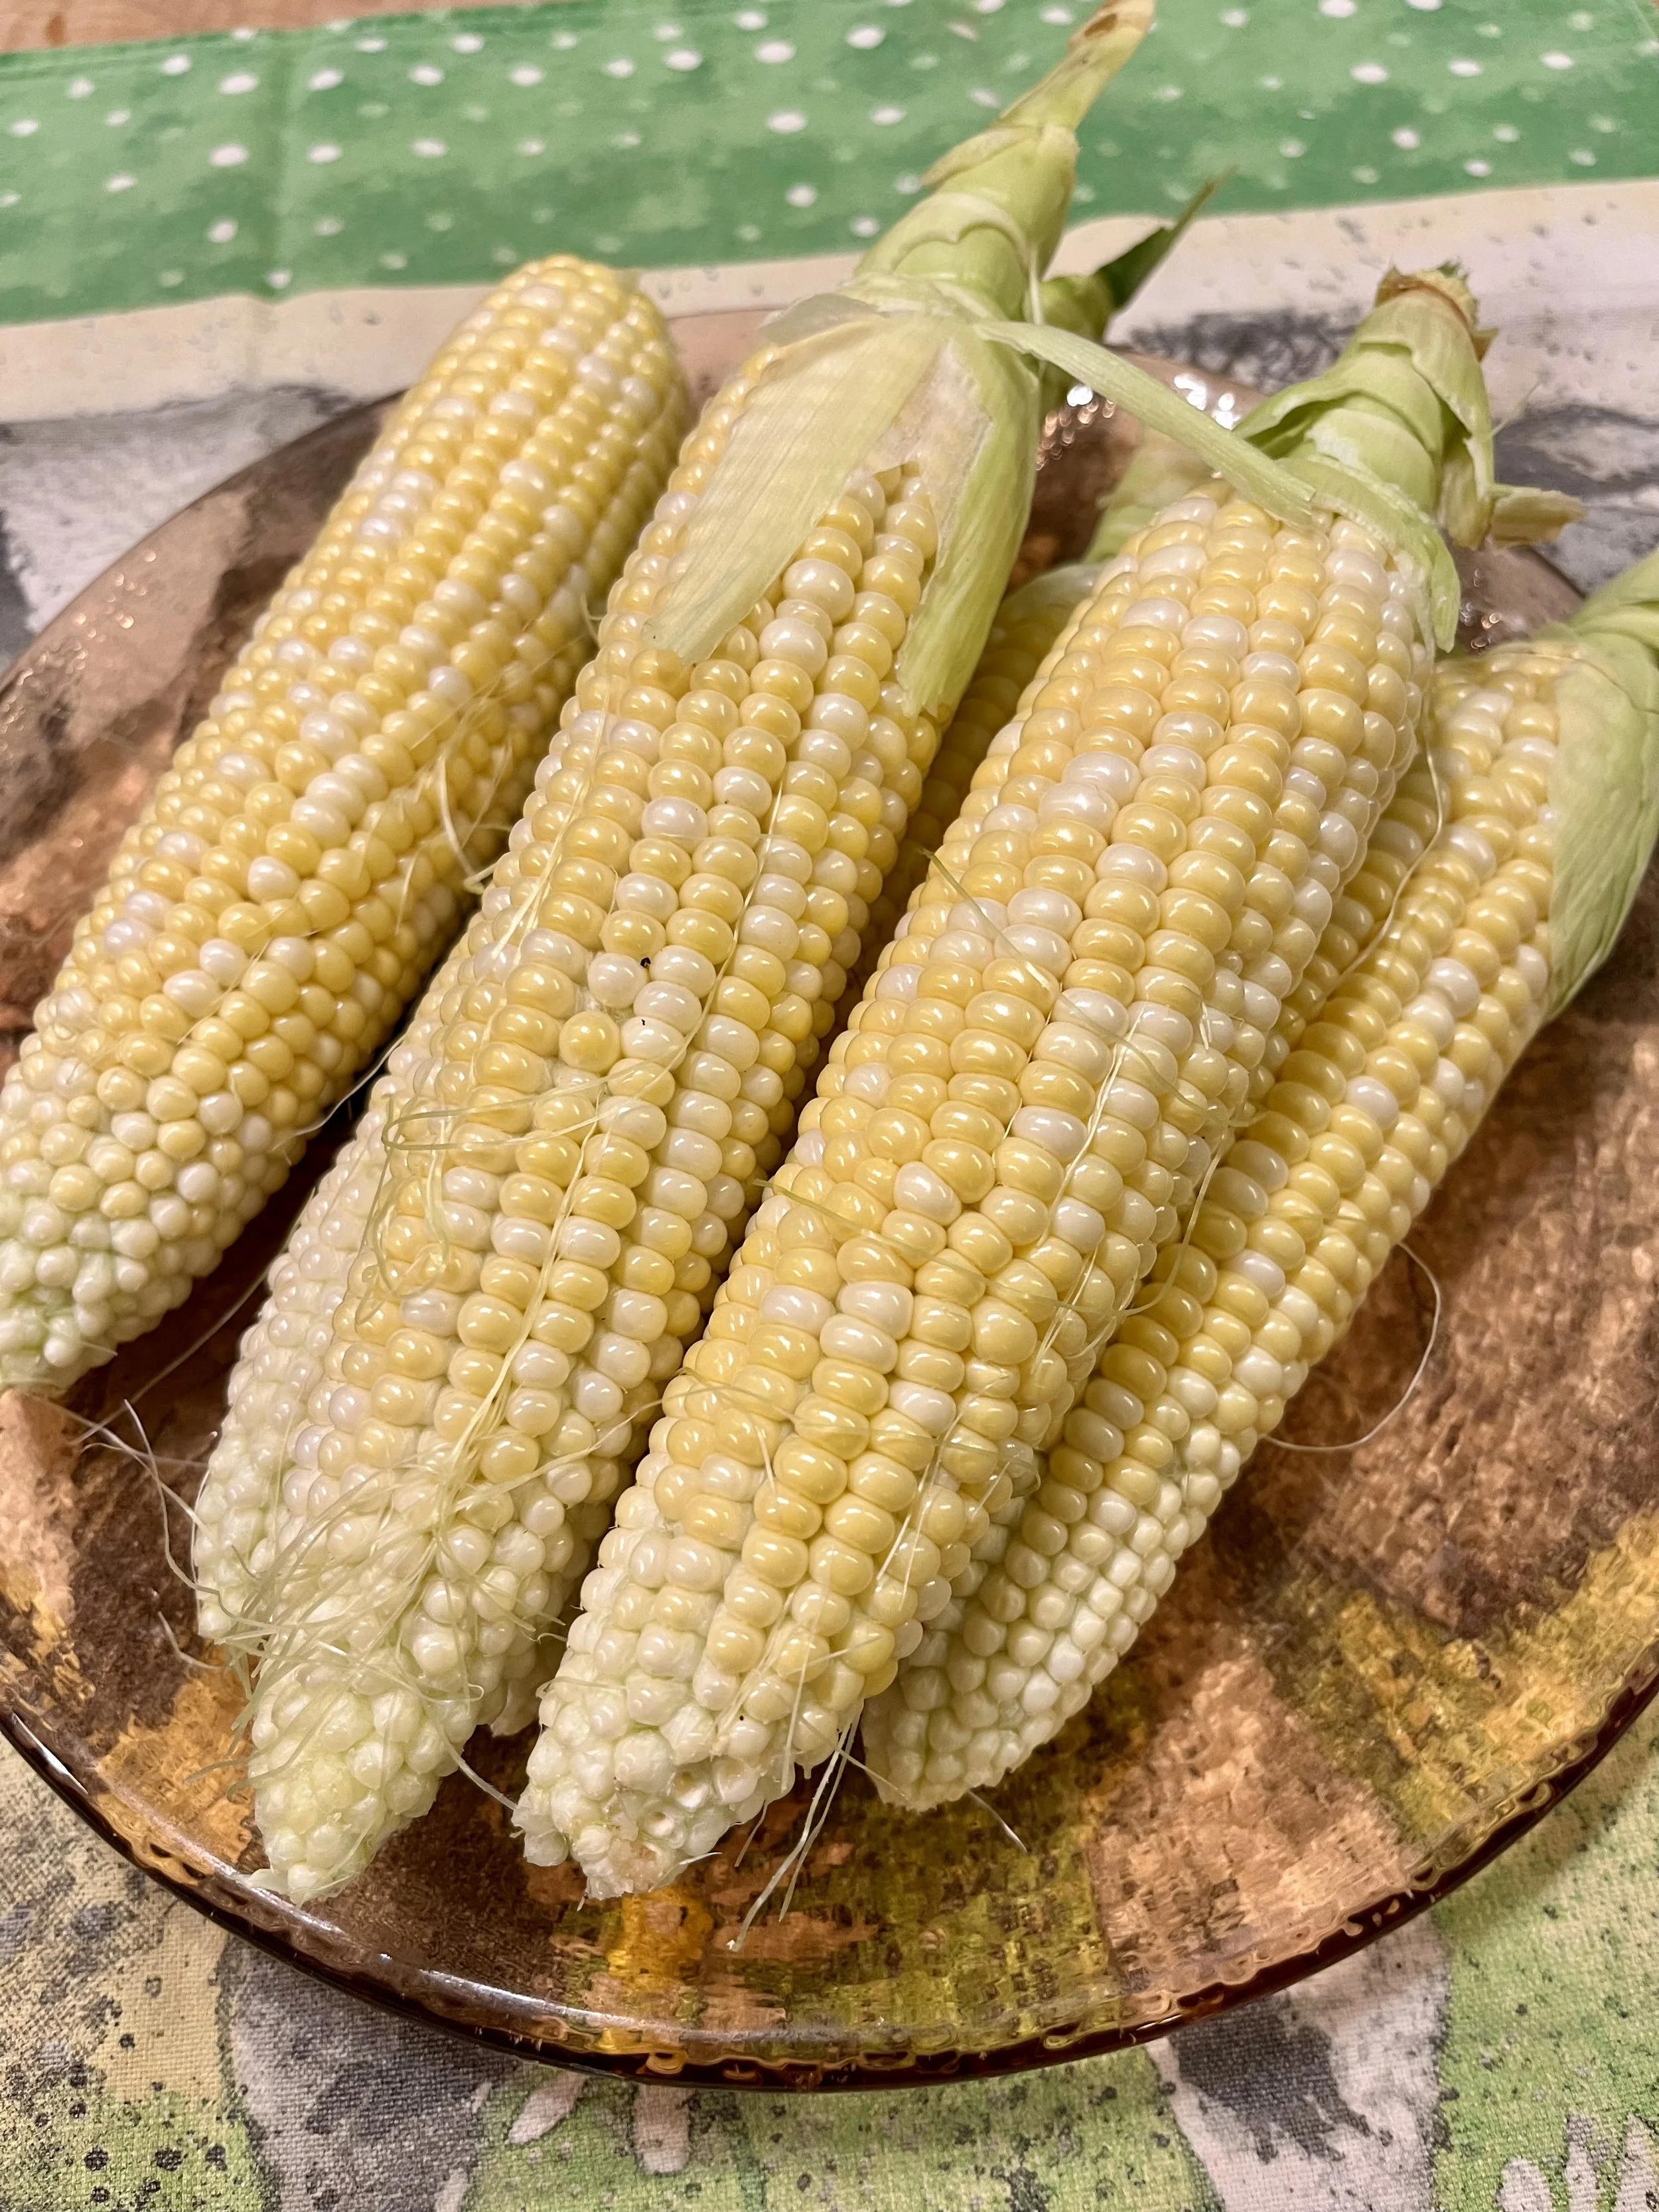
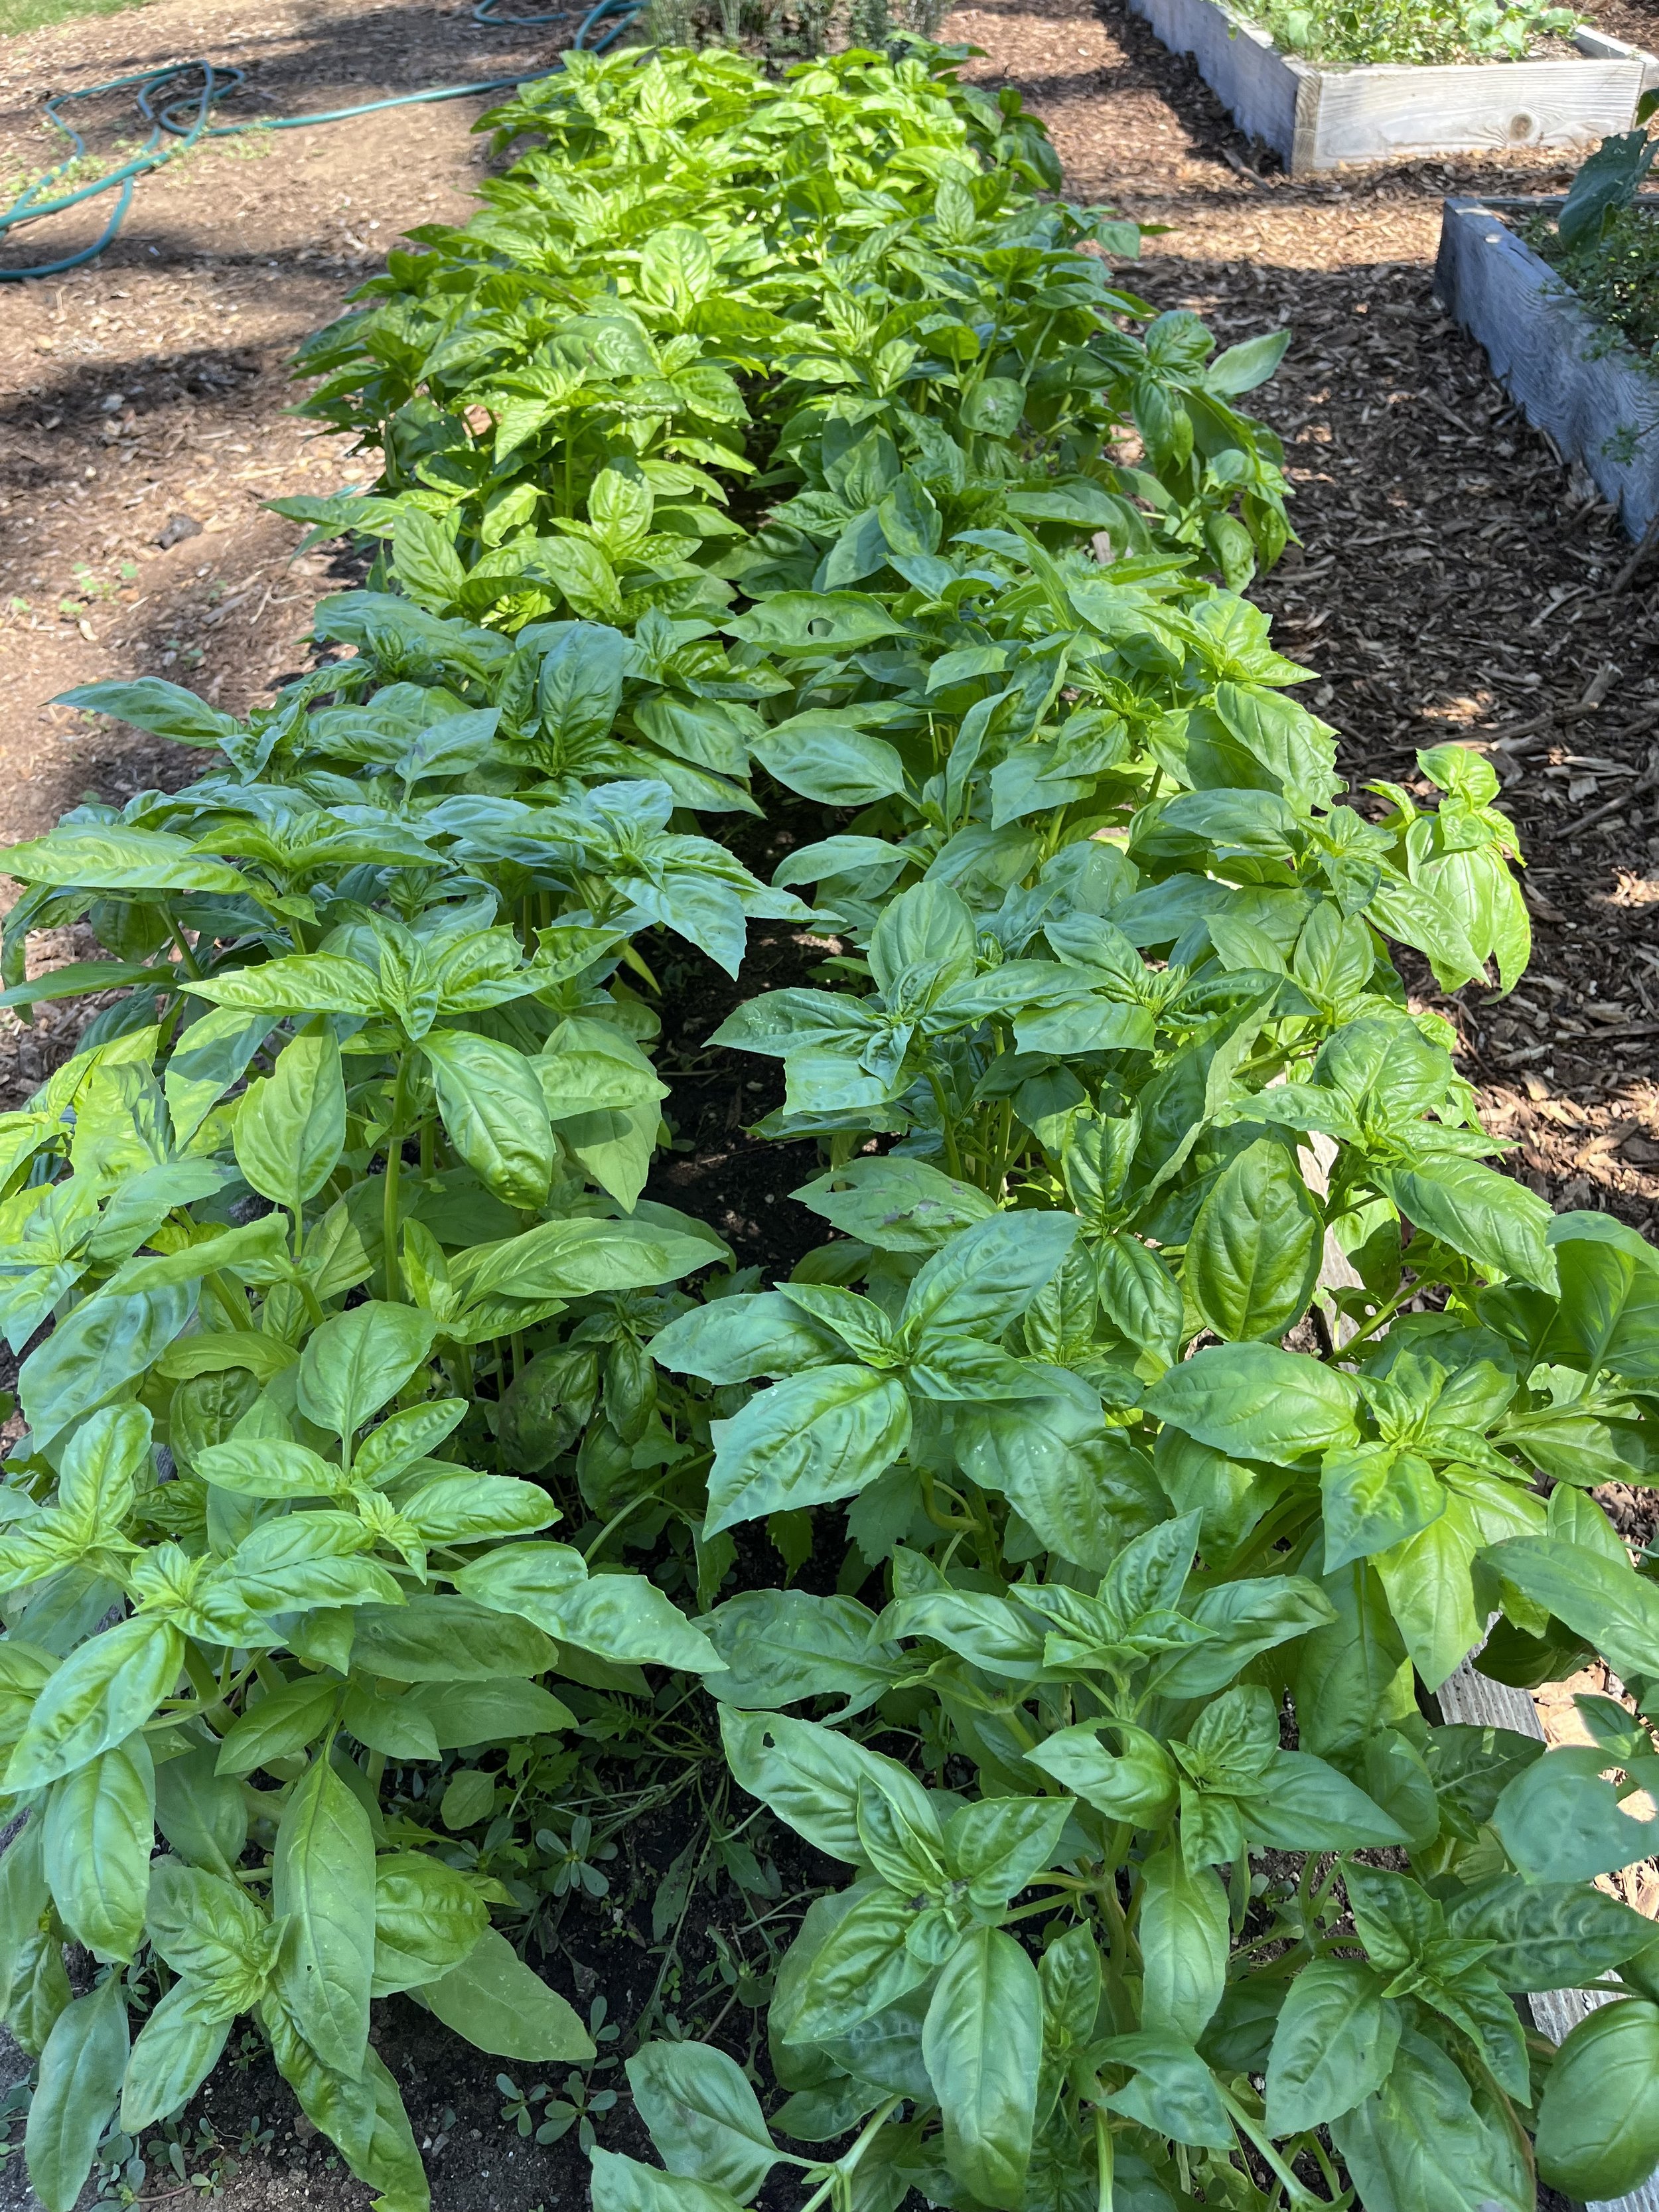
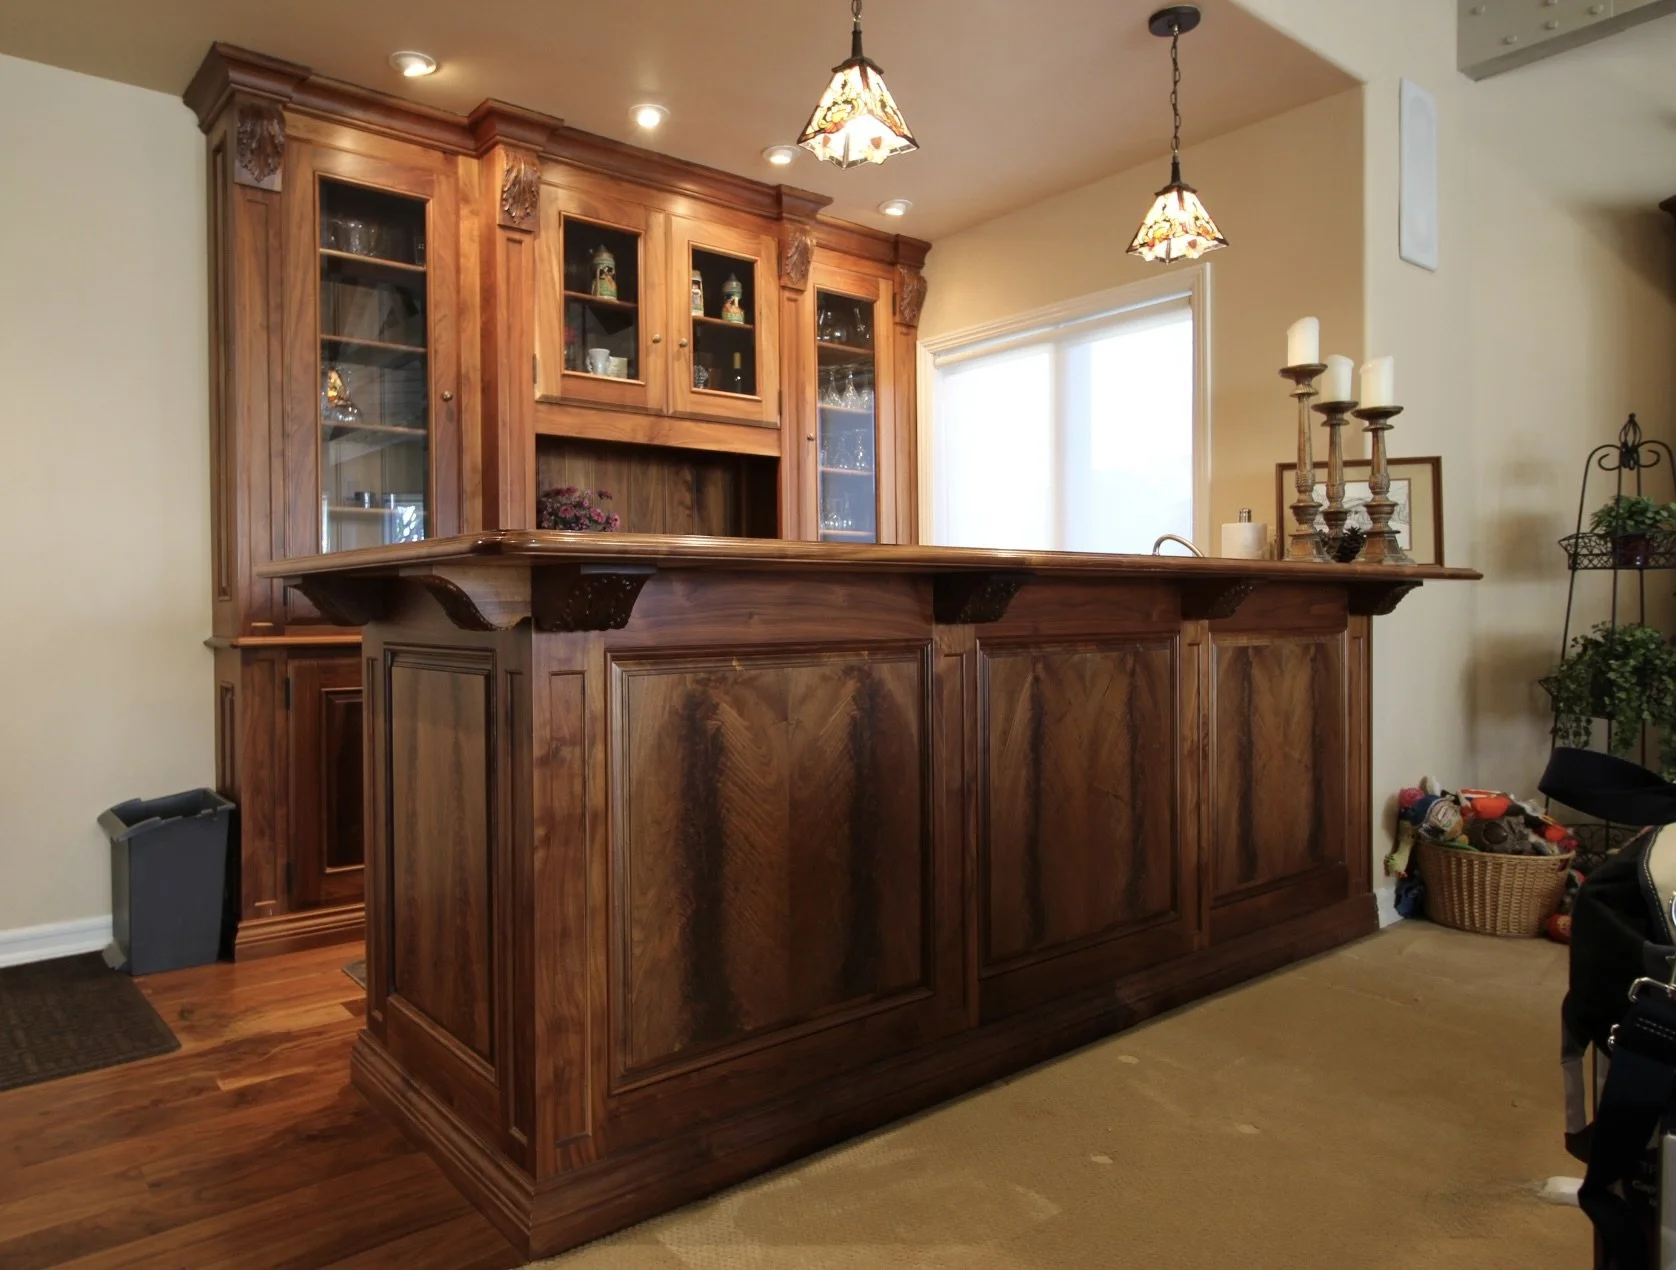
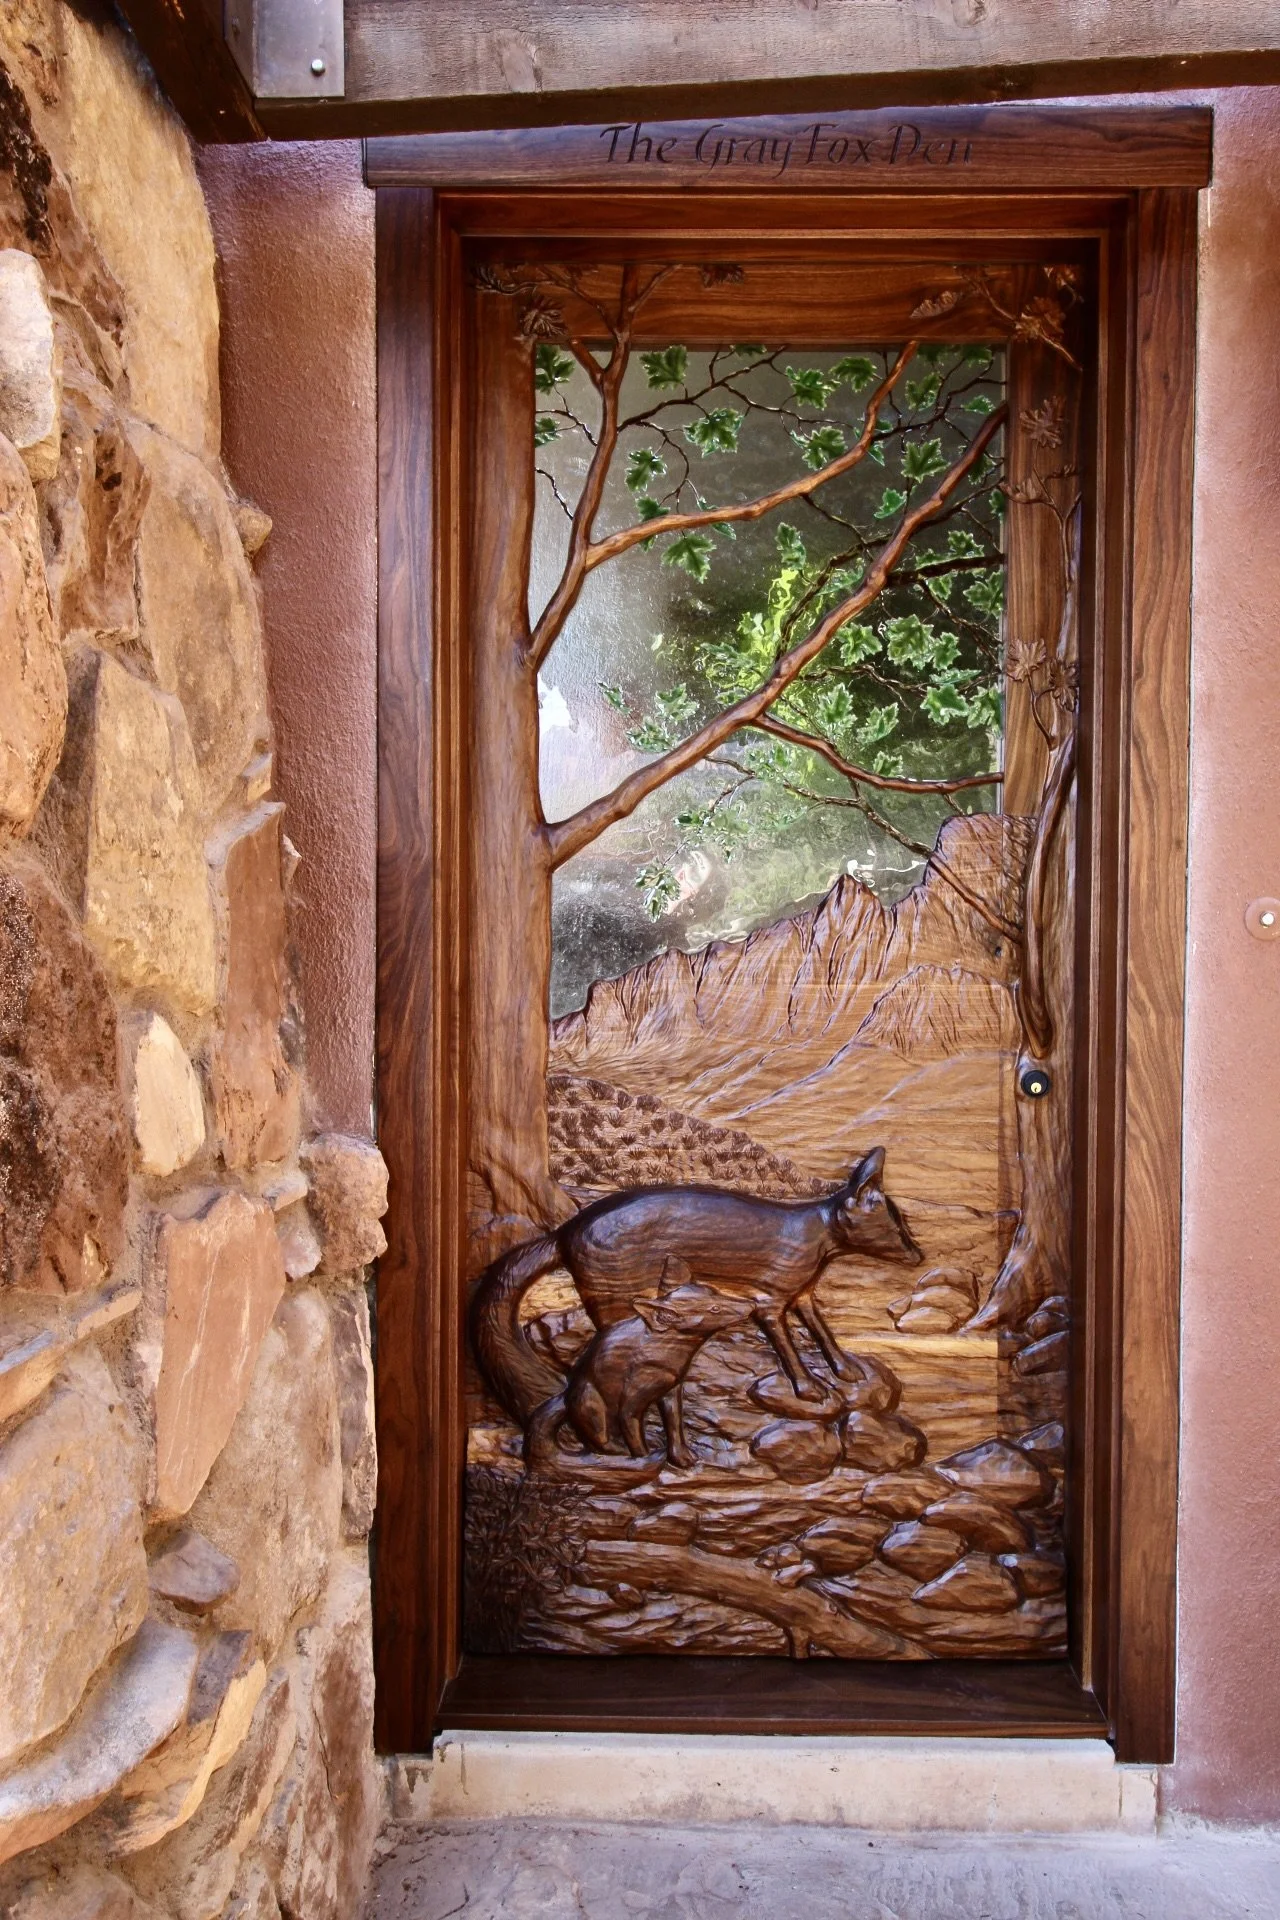
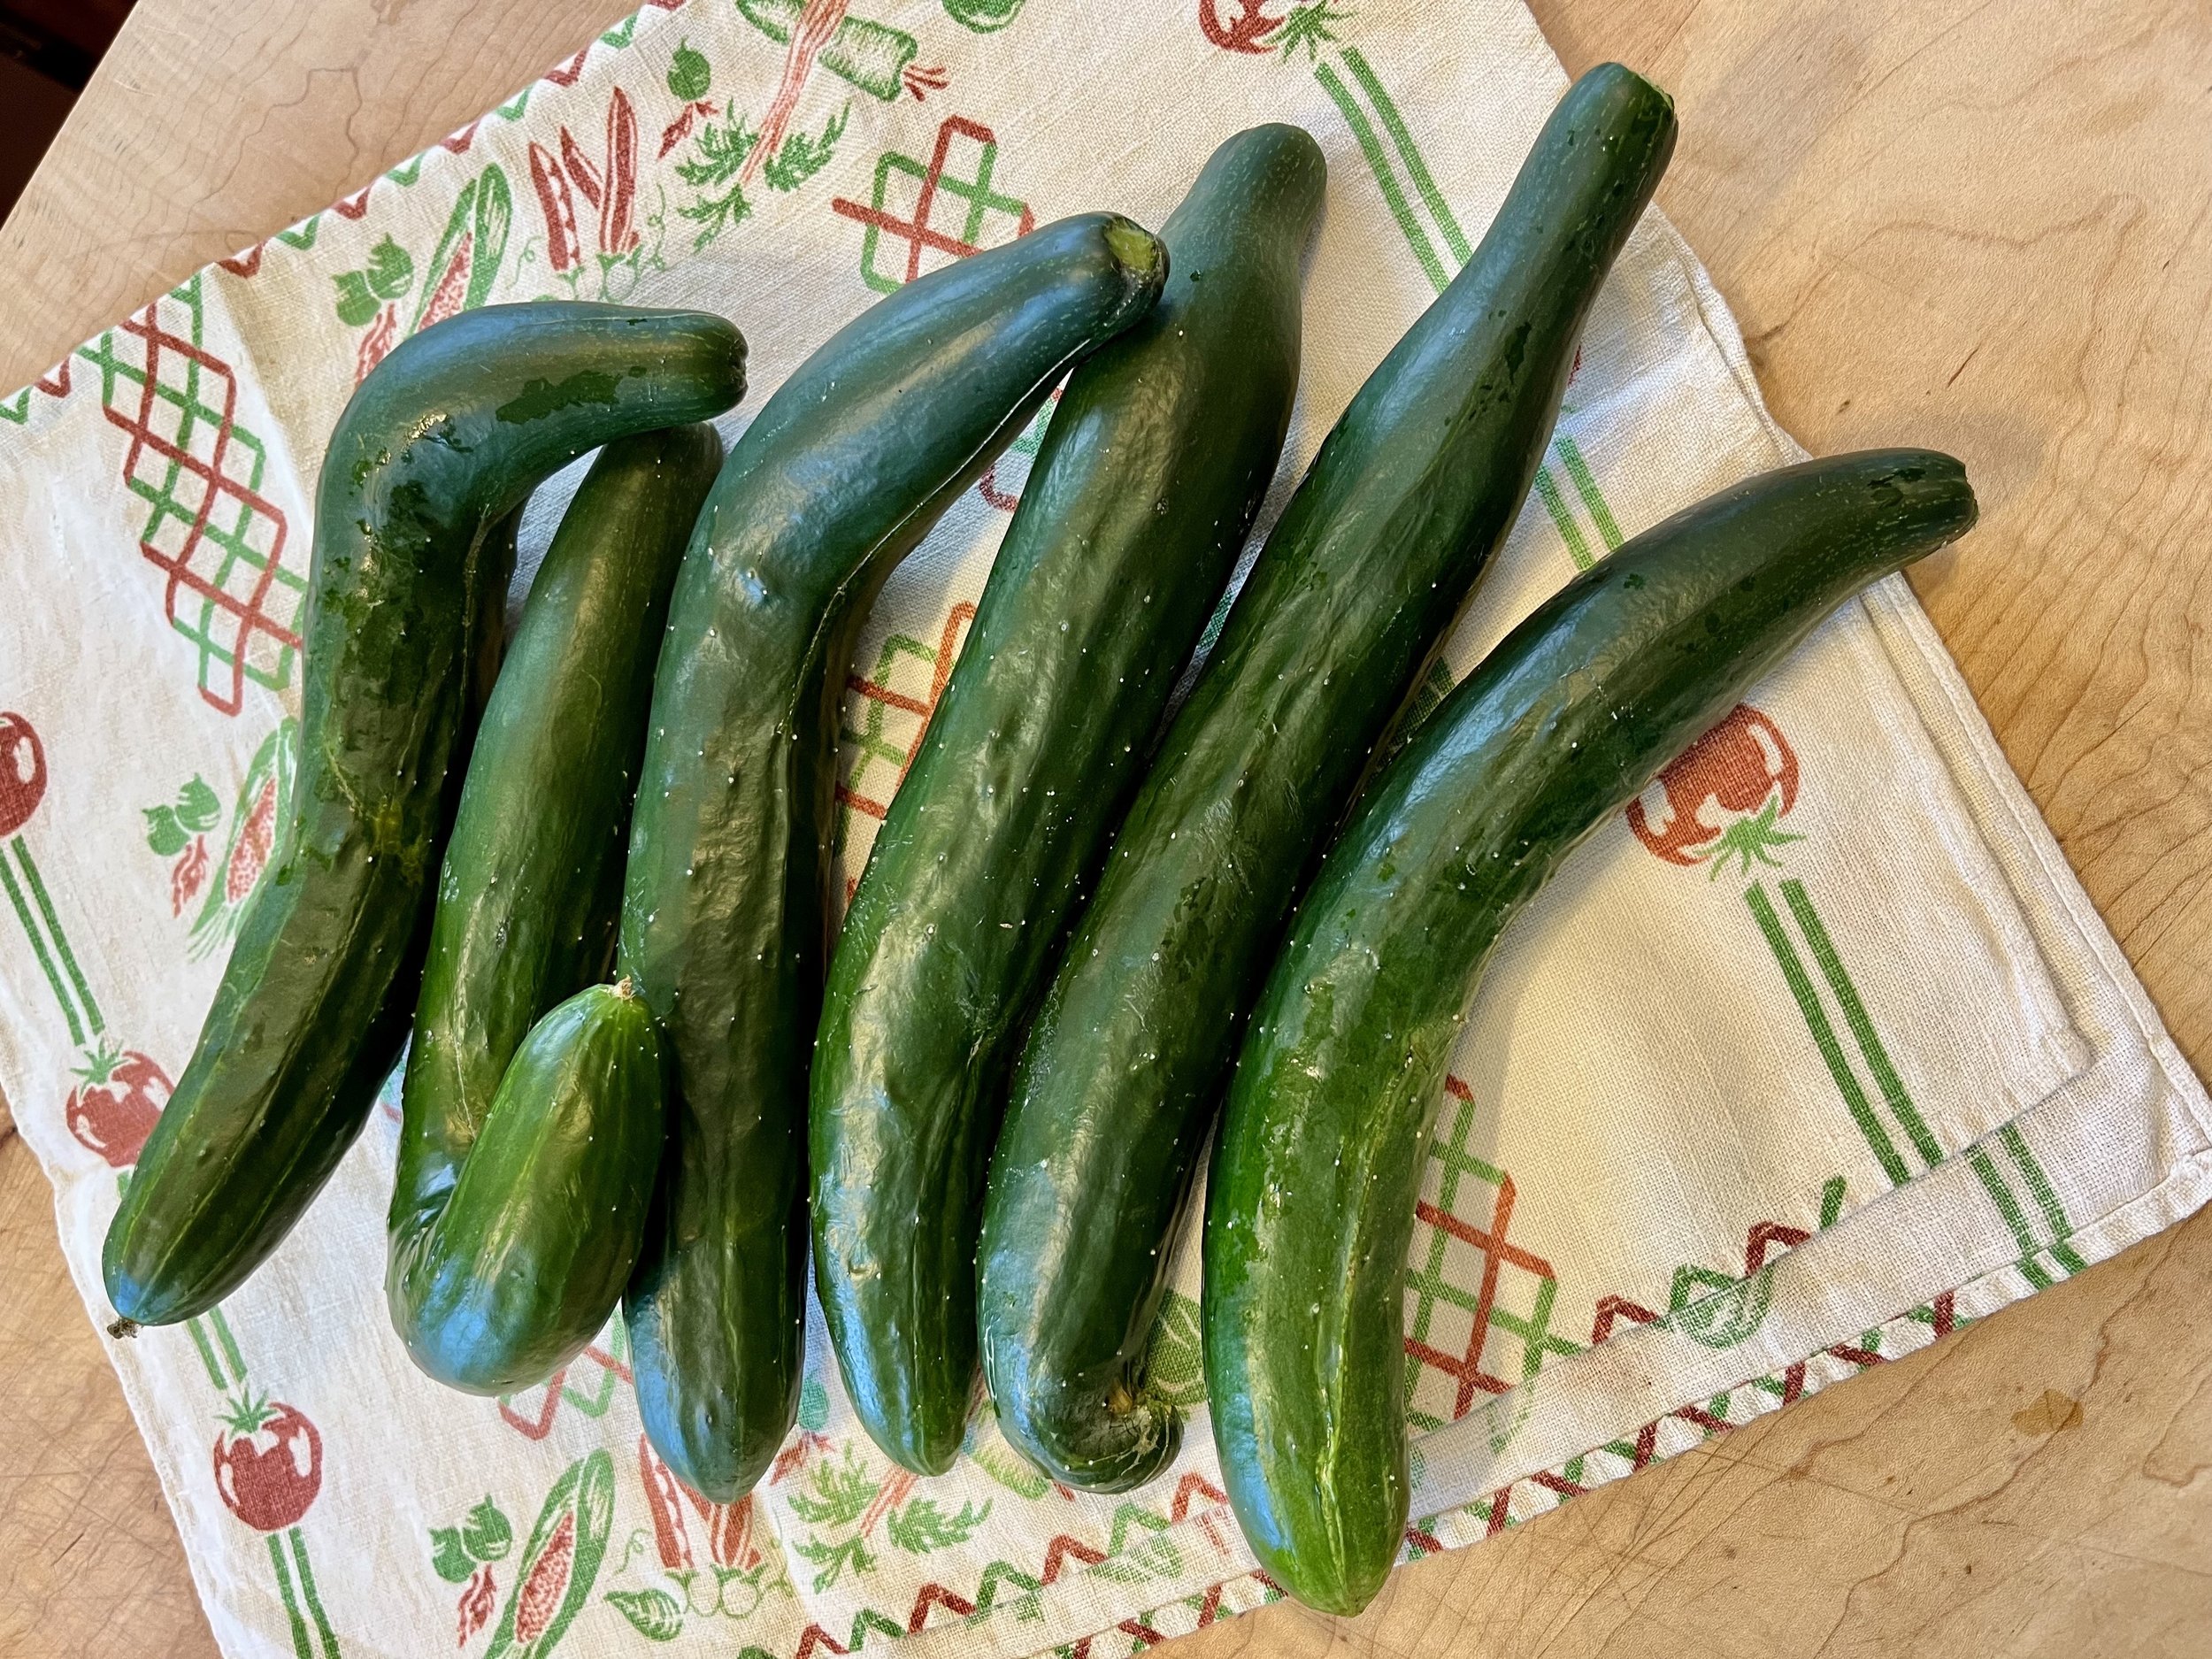
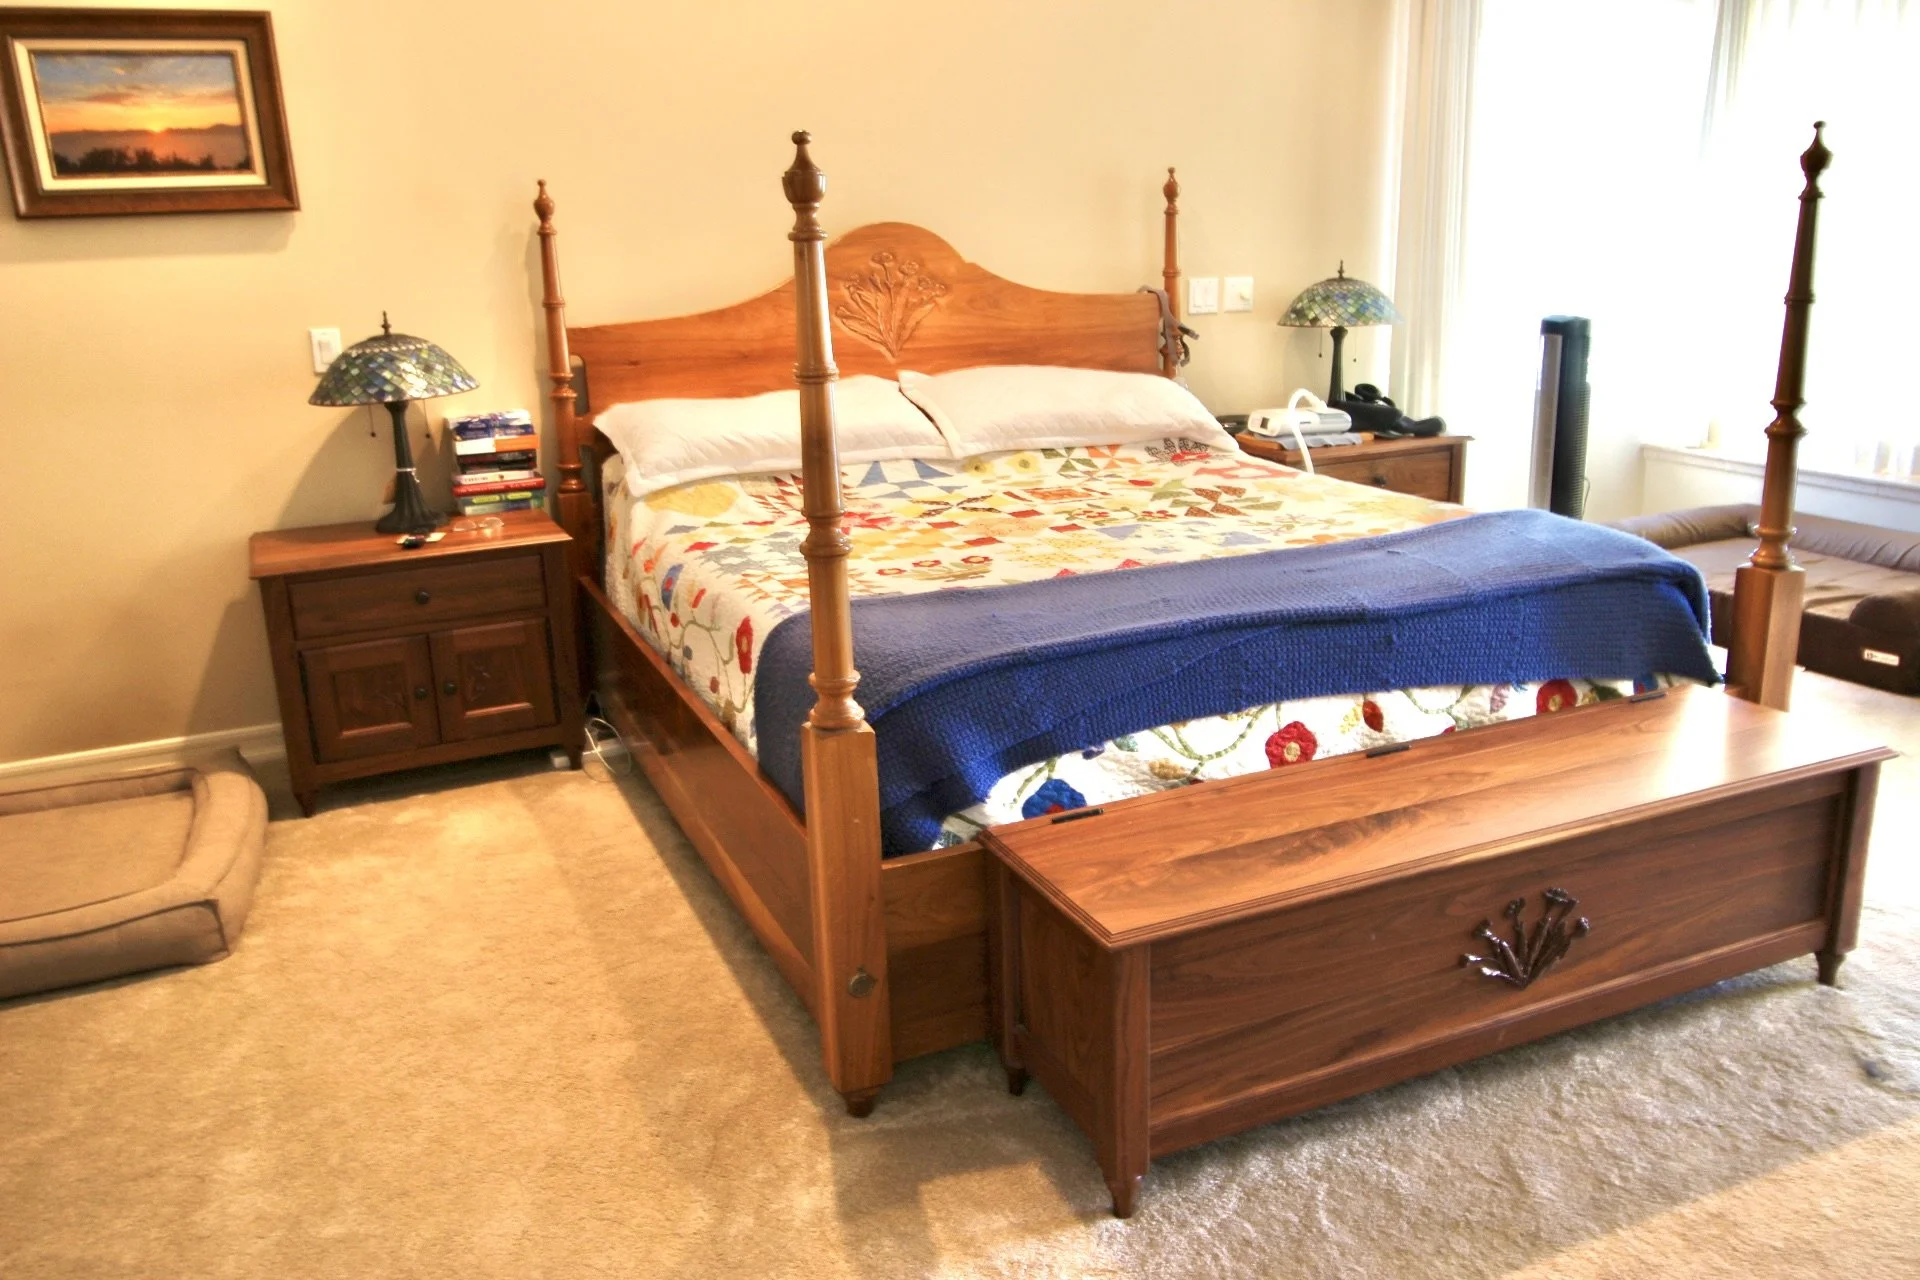
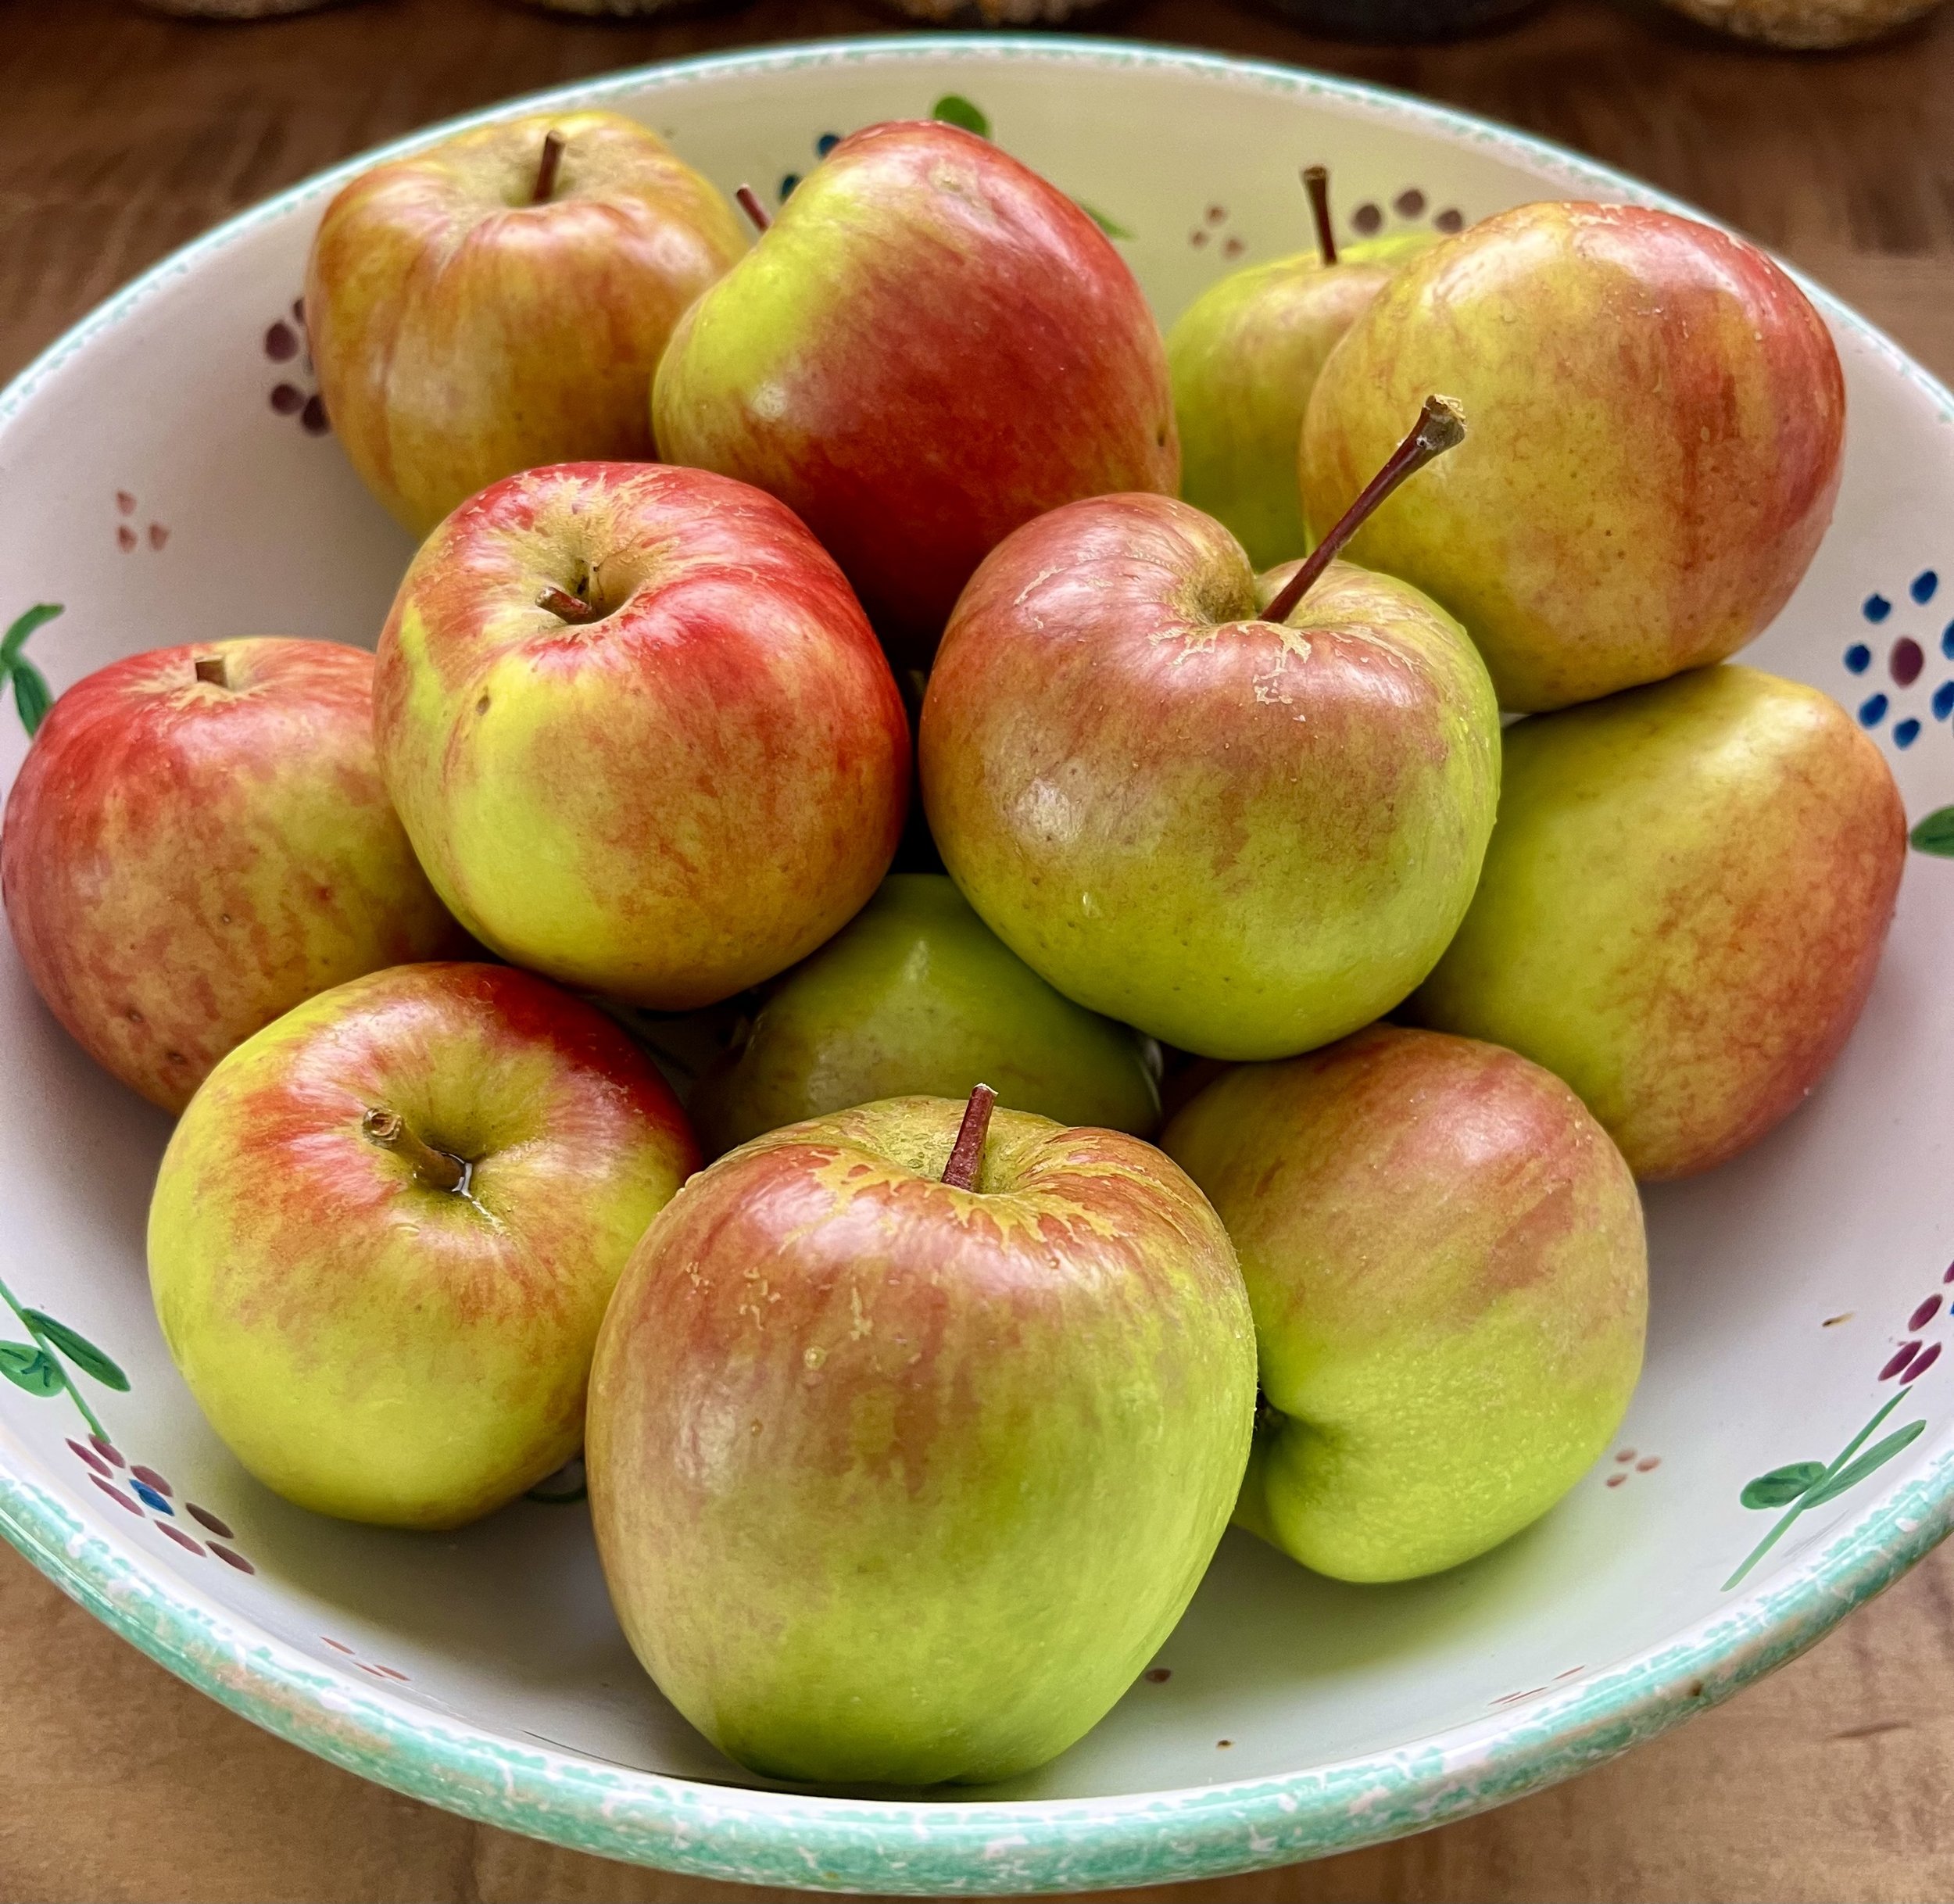
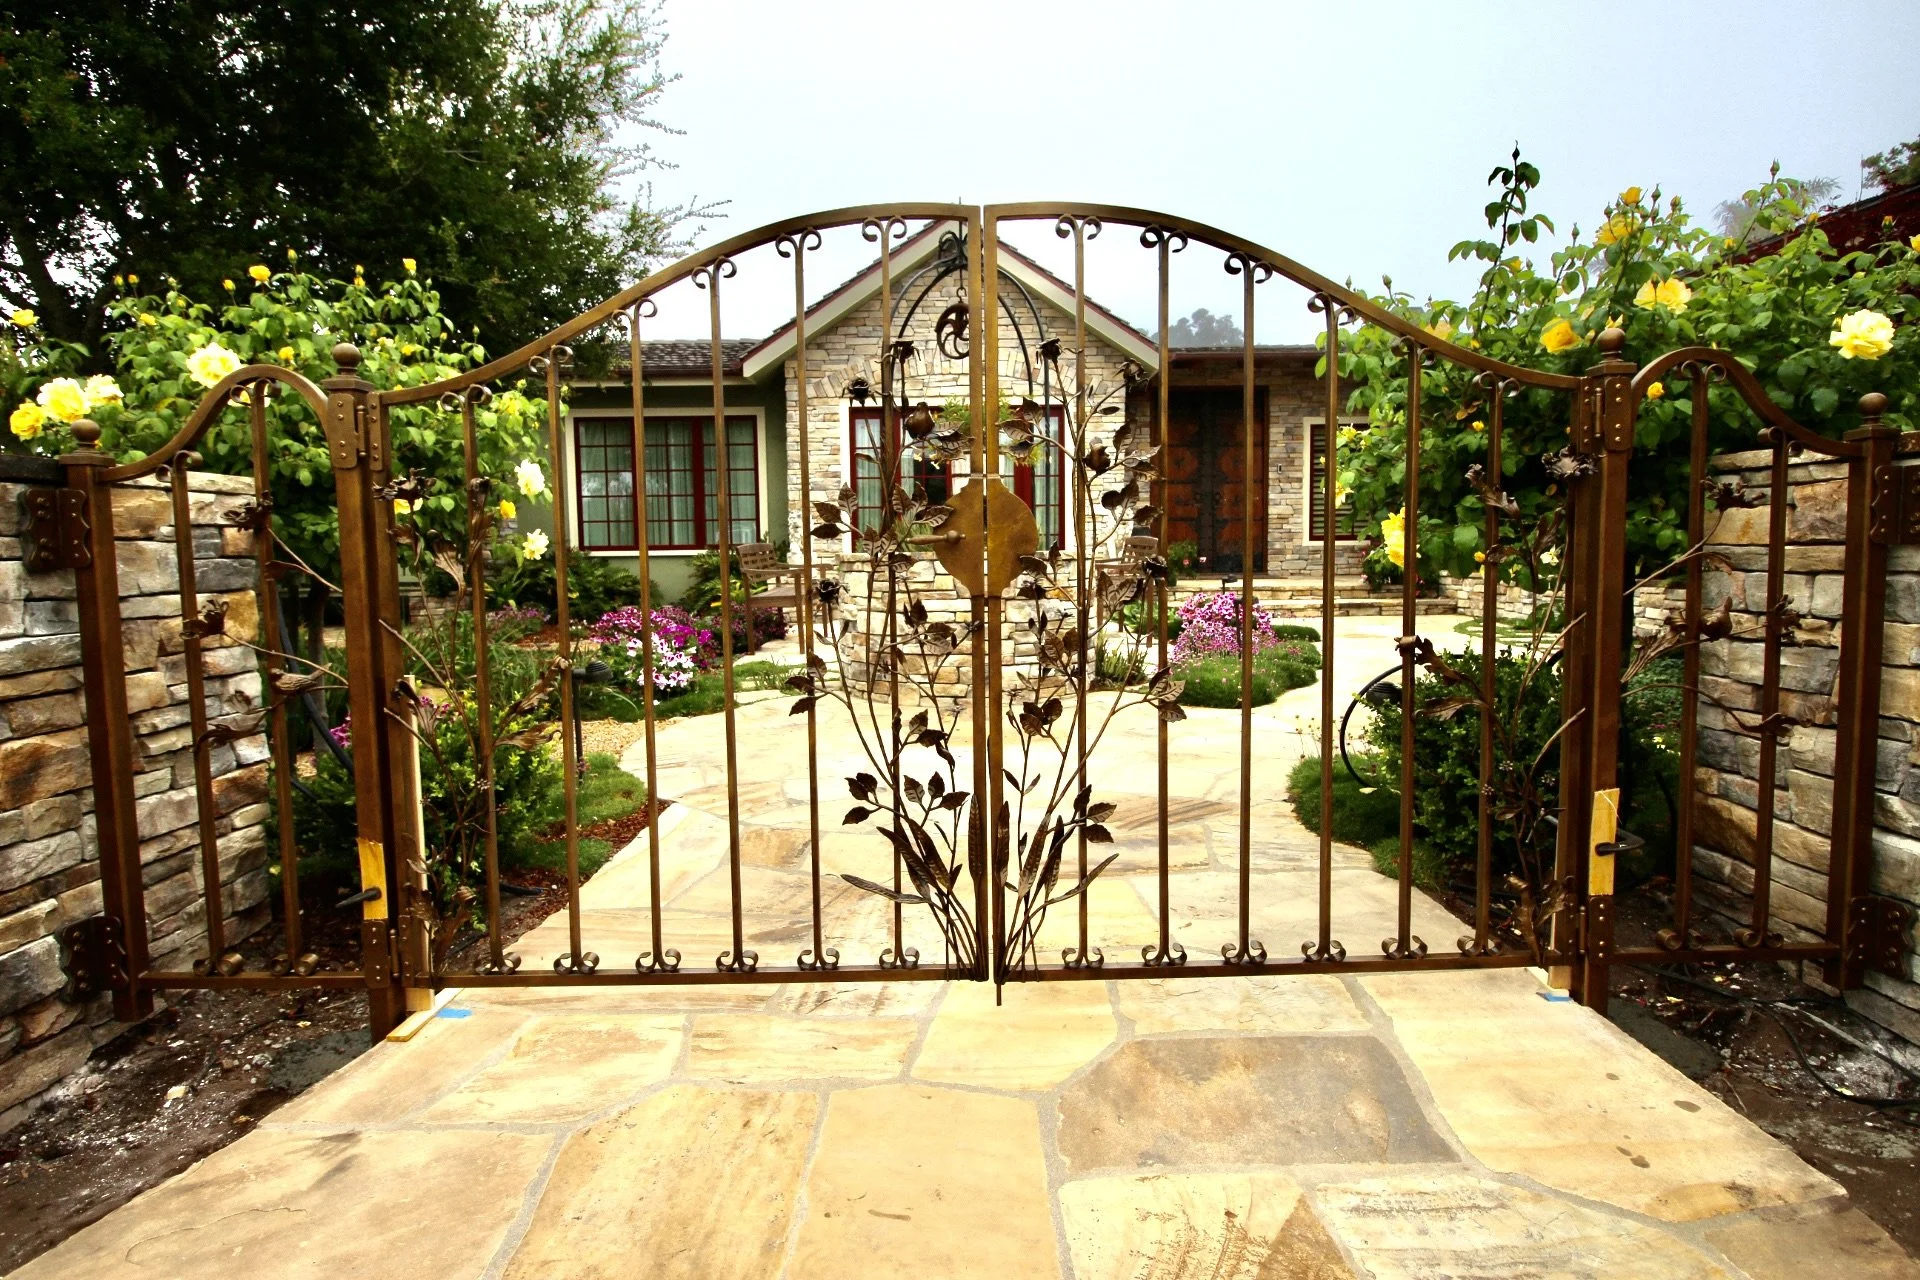
Doors Furniture Built-In's Kitchens Bathrooms Wine Cellars & Bars Other Build-in's / Architectural Millwork Staircases Mantels Glass & Metal Arts Glass Arts Sculptures & Metal Arts Lighting Commercial Installations Laura Frisk 1/8/24 Laura Frisk 1/8/24 Memorial Bench at the Coast to Crest River Trail in Del Mar, California Read More Laura Frisk 1/8/24 Laura Frisk 1/8/24 Kauai Bamboo Entry Door Read More Laura Frisk 1/8/24 Laura Frisk 1/8/24 In My Garden: Fruit Trees Read More Laura Frisk 11/9/23 Laura Frisk 11/9/23 Egret Glass Panel Read More Laura Frisk 11/9/23 Laura Frisk 11/9/23 Gates on the Hawaiian Island of Maui Read More Laura Frisk 11/9/23 Laura Frisk 11/9/23 In My Garden: Corn Read More Laura Frisk 9/6/23 Laura Frisk 9/6/23 In My Garden: Basil Read More Laura Frisk 9/5/23 Laura Frisk 9/5/23 Family Room in Del Mar, California Read More Laura Frisk 9/5/23 Laura Frisk 9/5/23 Zion Fox Entryway Read More Laura Frisk 8/8/23 Laura Frisk 8/8/23 In My Garden: Cucumbers Read More Laura Frisk 7/10/23 Laura Frisk 7/10/23 Bedroom Set Lake Tahoe Read More Laura Frisk 7/10/23 Laura Frisk 7/10/23 In My Garden: Apples! Read More Laura Frisk 6/19/23 Laura Frisk 6/19/23 Hand-Carved Solid Teak Entryway in the Japanese Style Read More Laura Frisk 4/7/23 Laura Frisk 4/7/23 Hand-Forged Iron Gates in Santa Barbara, CA Read More Laura Frisk 8/24/22 Laura Frisk 8/24/22 In My Garden: Summer Lettuce! Read More Laura Frisk 8/24/22 Laura Frisk 8/24/22 An Entry with Orchids, Birds, and a Pond Turtle in New Jersey Read More Doors Laura Frisk 5/2/21 Doors Laura Frisk 5/2/21 Contemporary Home in La Jolla, CA Read More Derek Pruitt 3/8/21 Derek Pruitt 3/8/21 Desk for a Home Office in Newport Beach, California Read More garden Derek Pruitt 2/21/21 garden Derek Pruitt 2/21/21 In My Garden: Fruit Trees, Preparations for Summer Fruit Read More Doors Derek Pruitt 2/17/21 Doors Derek Pruitt 2/17/21 Classical Doors for a Palm Desert, California Home Read More Older Posts
Laura Frisk 1/8/24 Laura Frisk 1/8/24 Memorial Bench at the Coast to Crest River Trail in Del Mar, California Read More
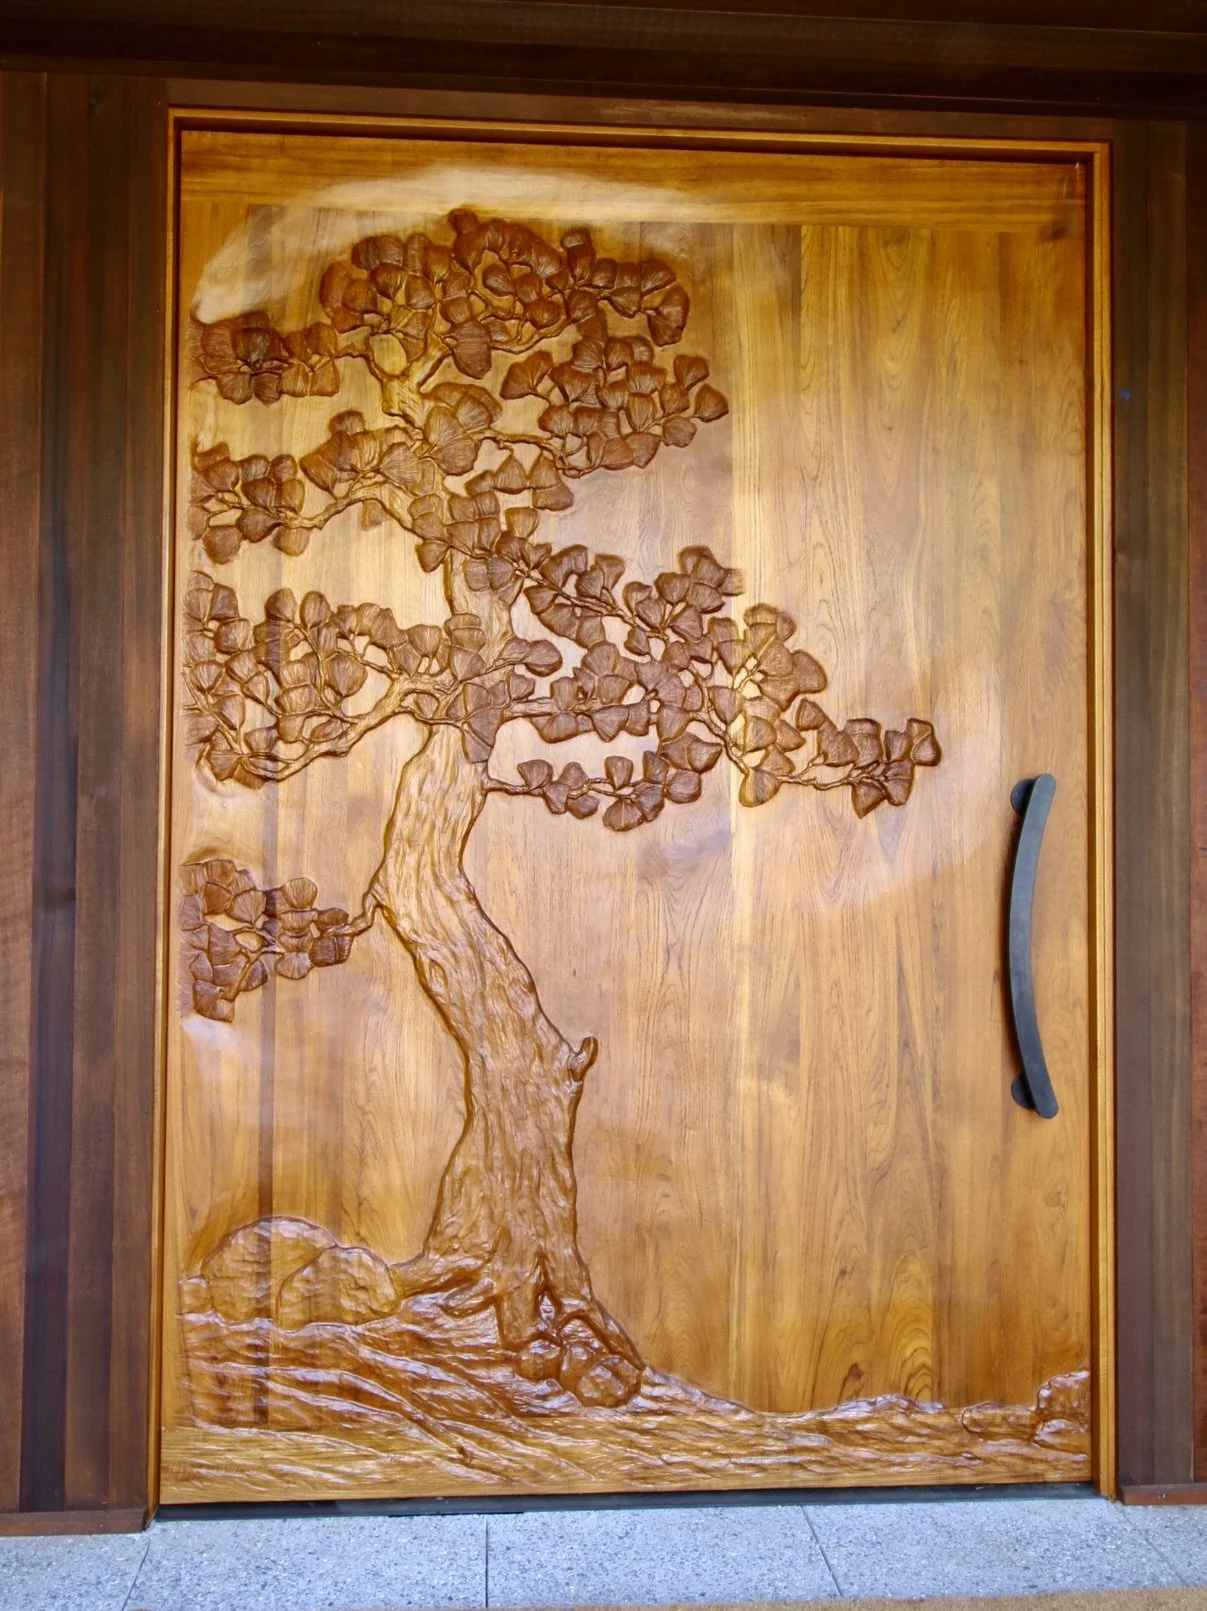
Laura Frisk 6/19/23 Laura Frisk 6/19/23 Hand-Carved Solid Teak Entryway in the Japanese Style Read More
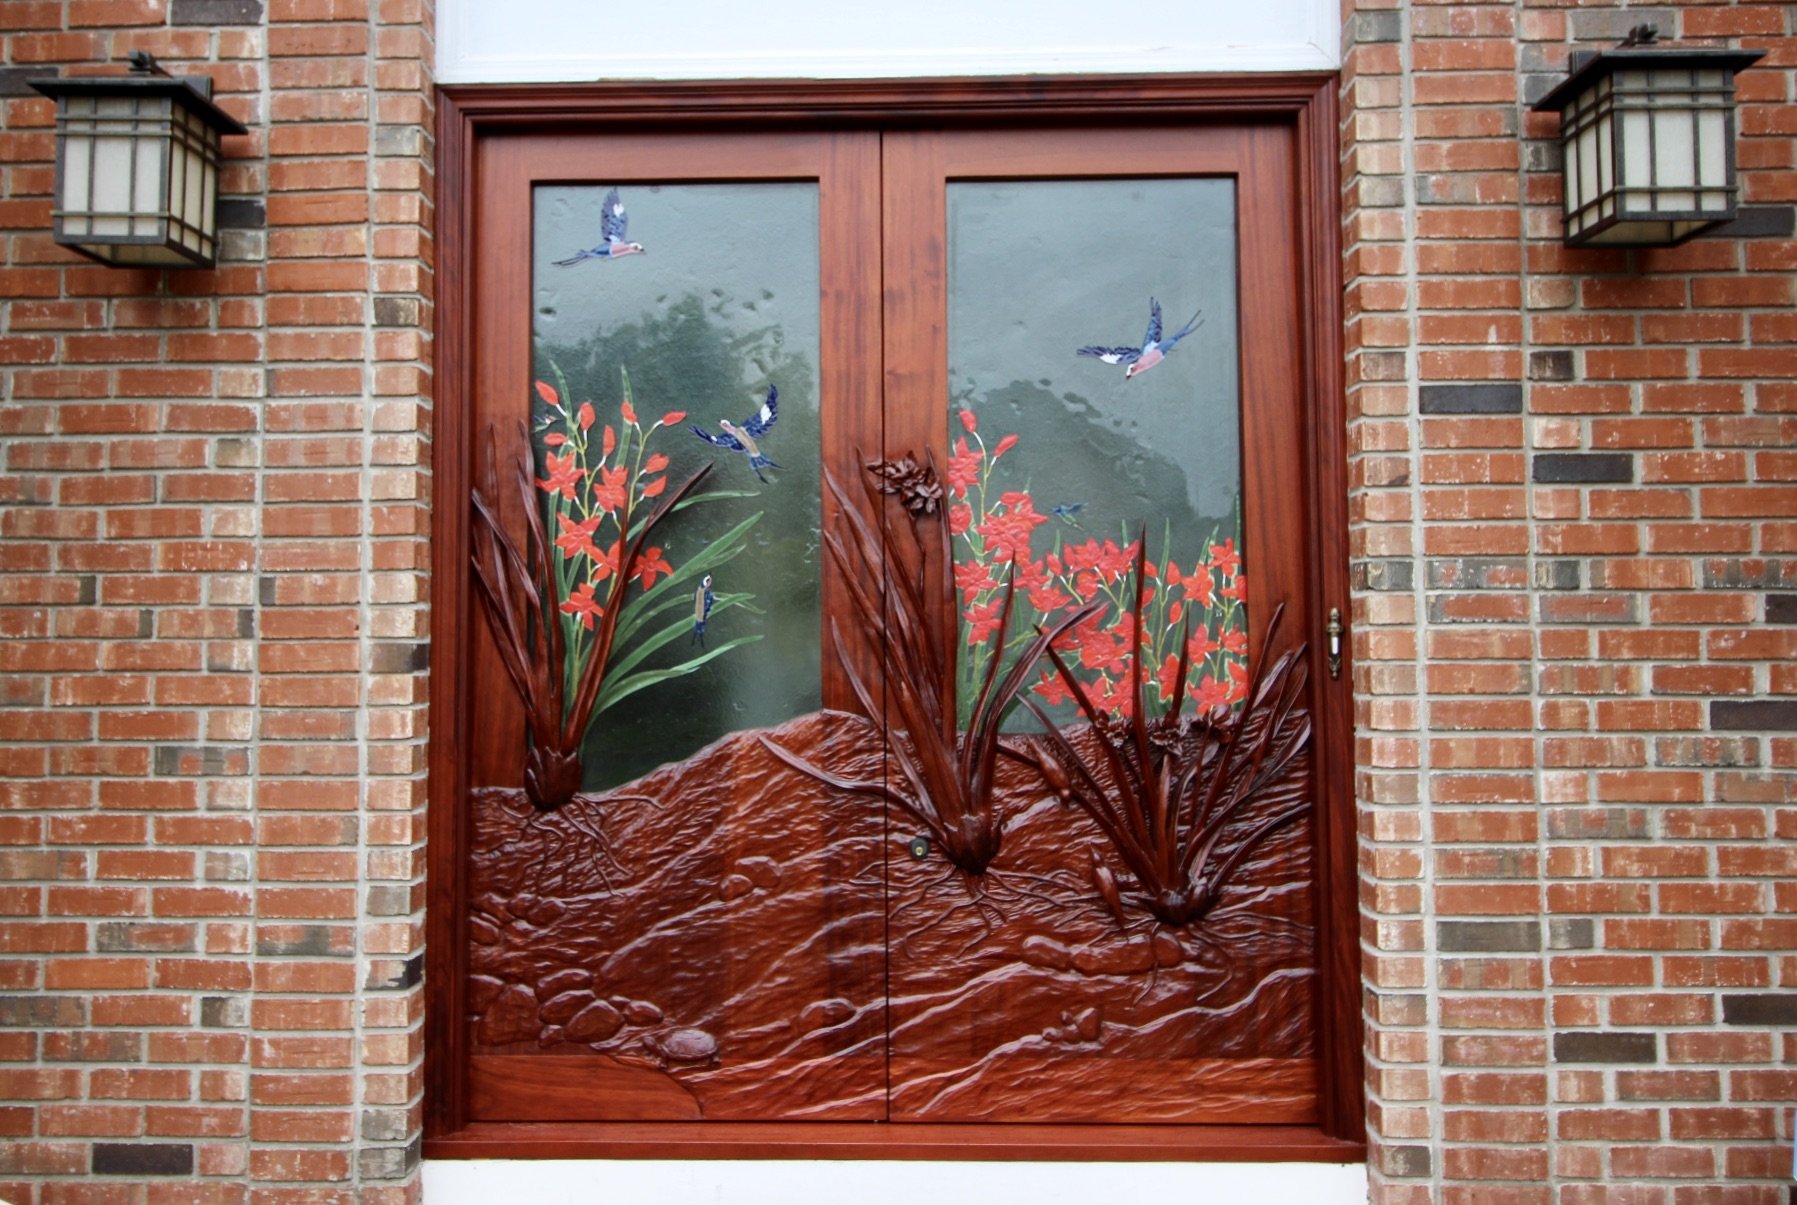
Laura Frisk 8/24/22 Laura Frisk 8/24/22 An Entry with Orchids, Birds, and a Pond Turtle in New Jersey Read More
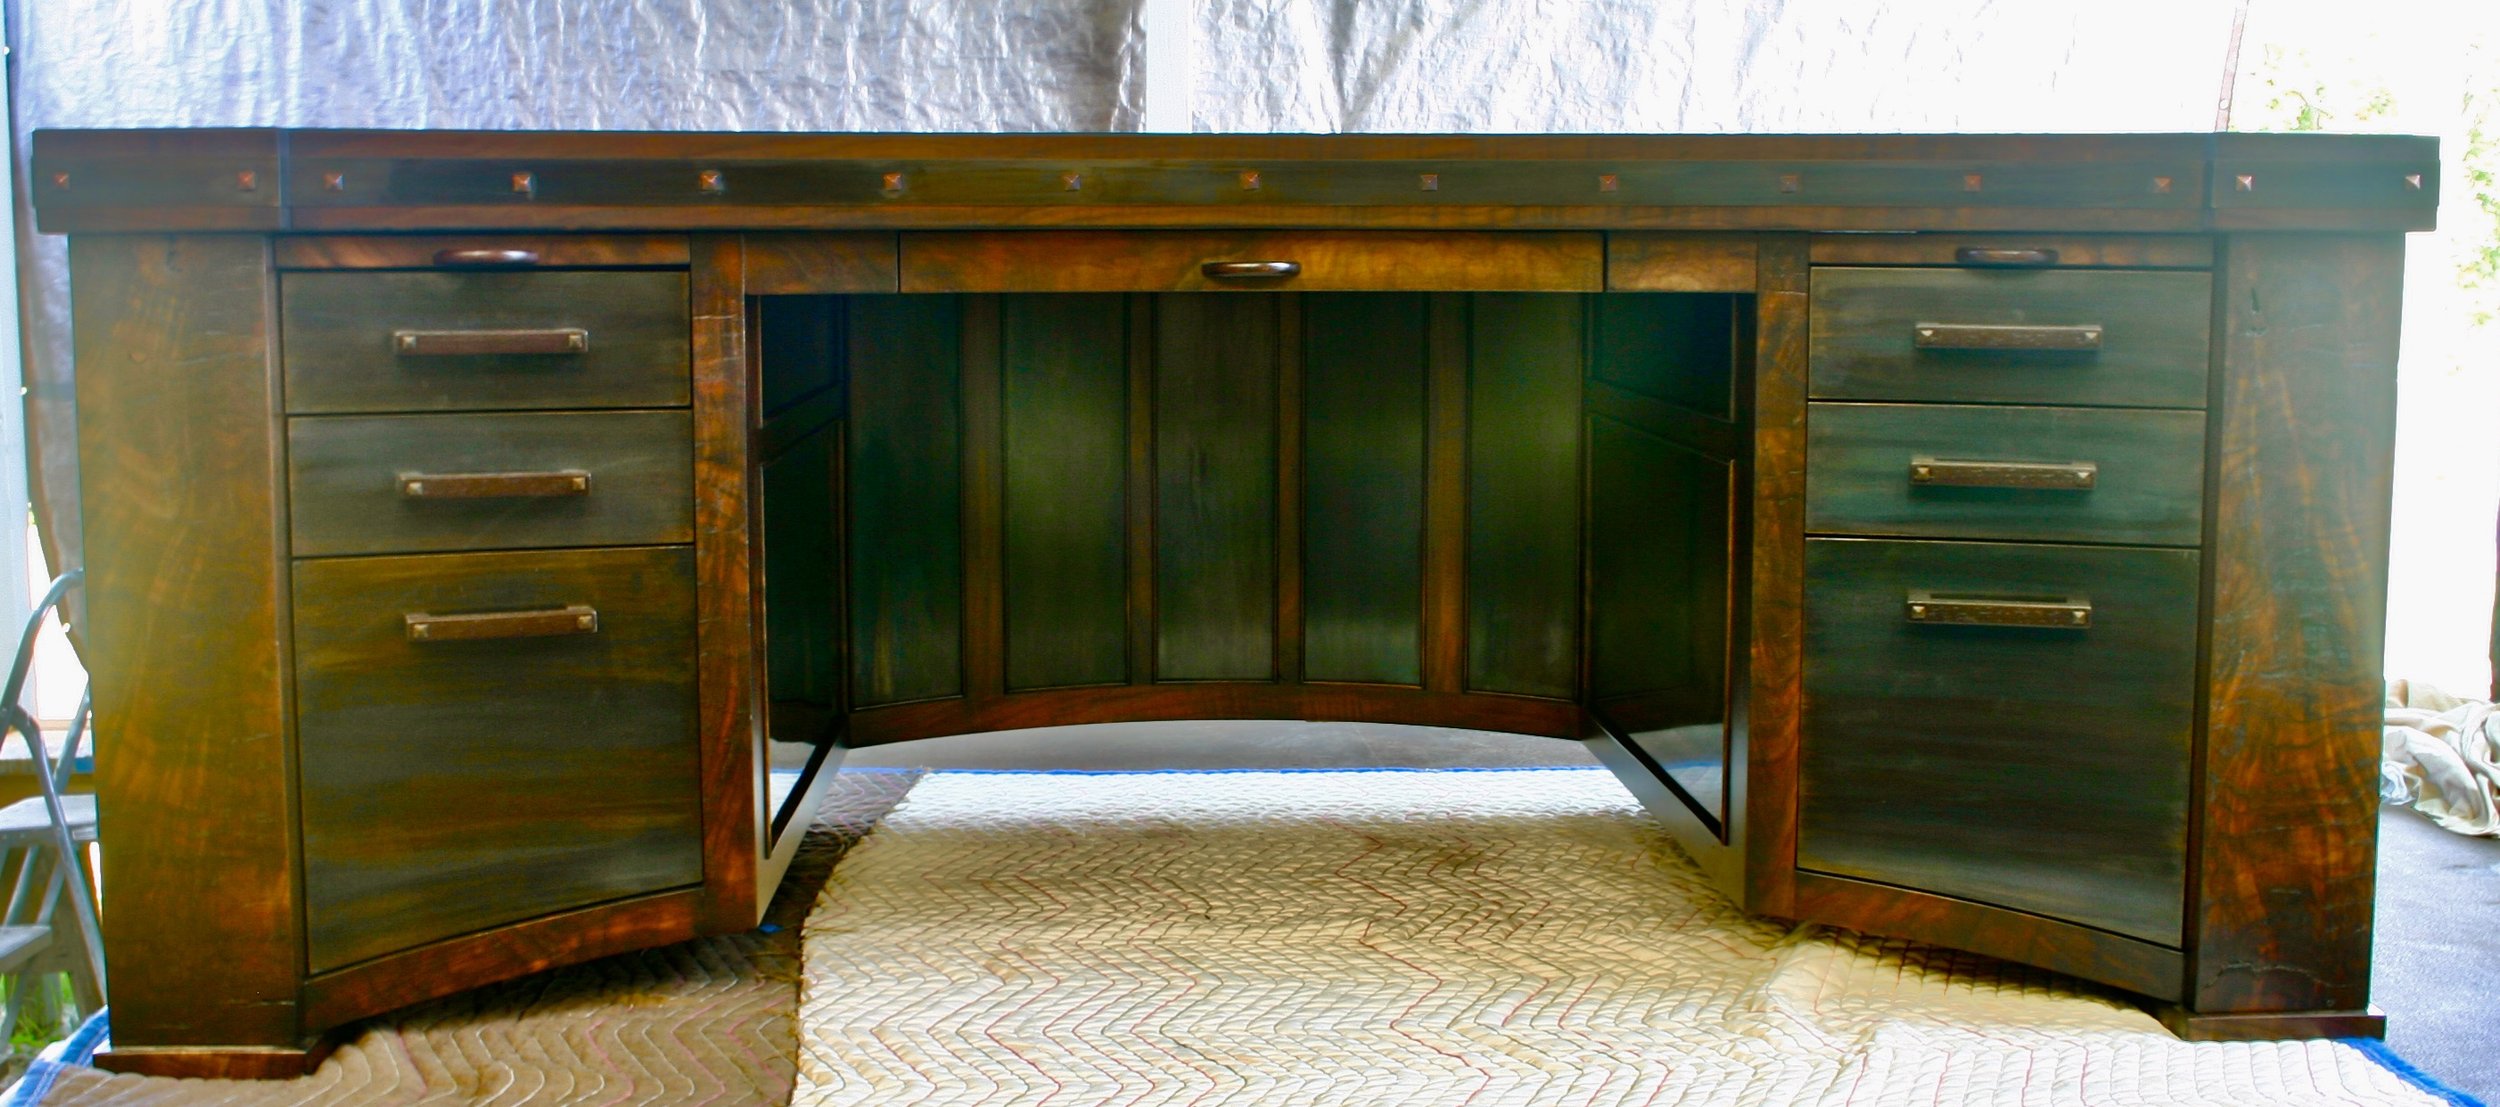
Derek Pruitt 3/8/21 Derek Pruitt 3/8/21 Desk for a Home Office in Newport Beach, California Read More
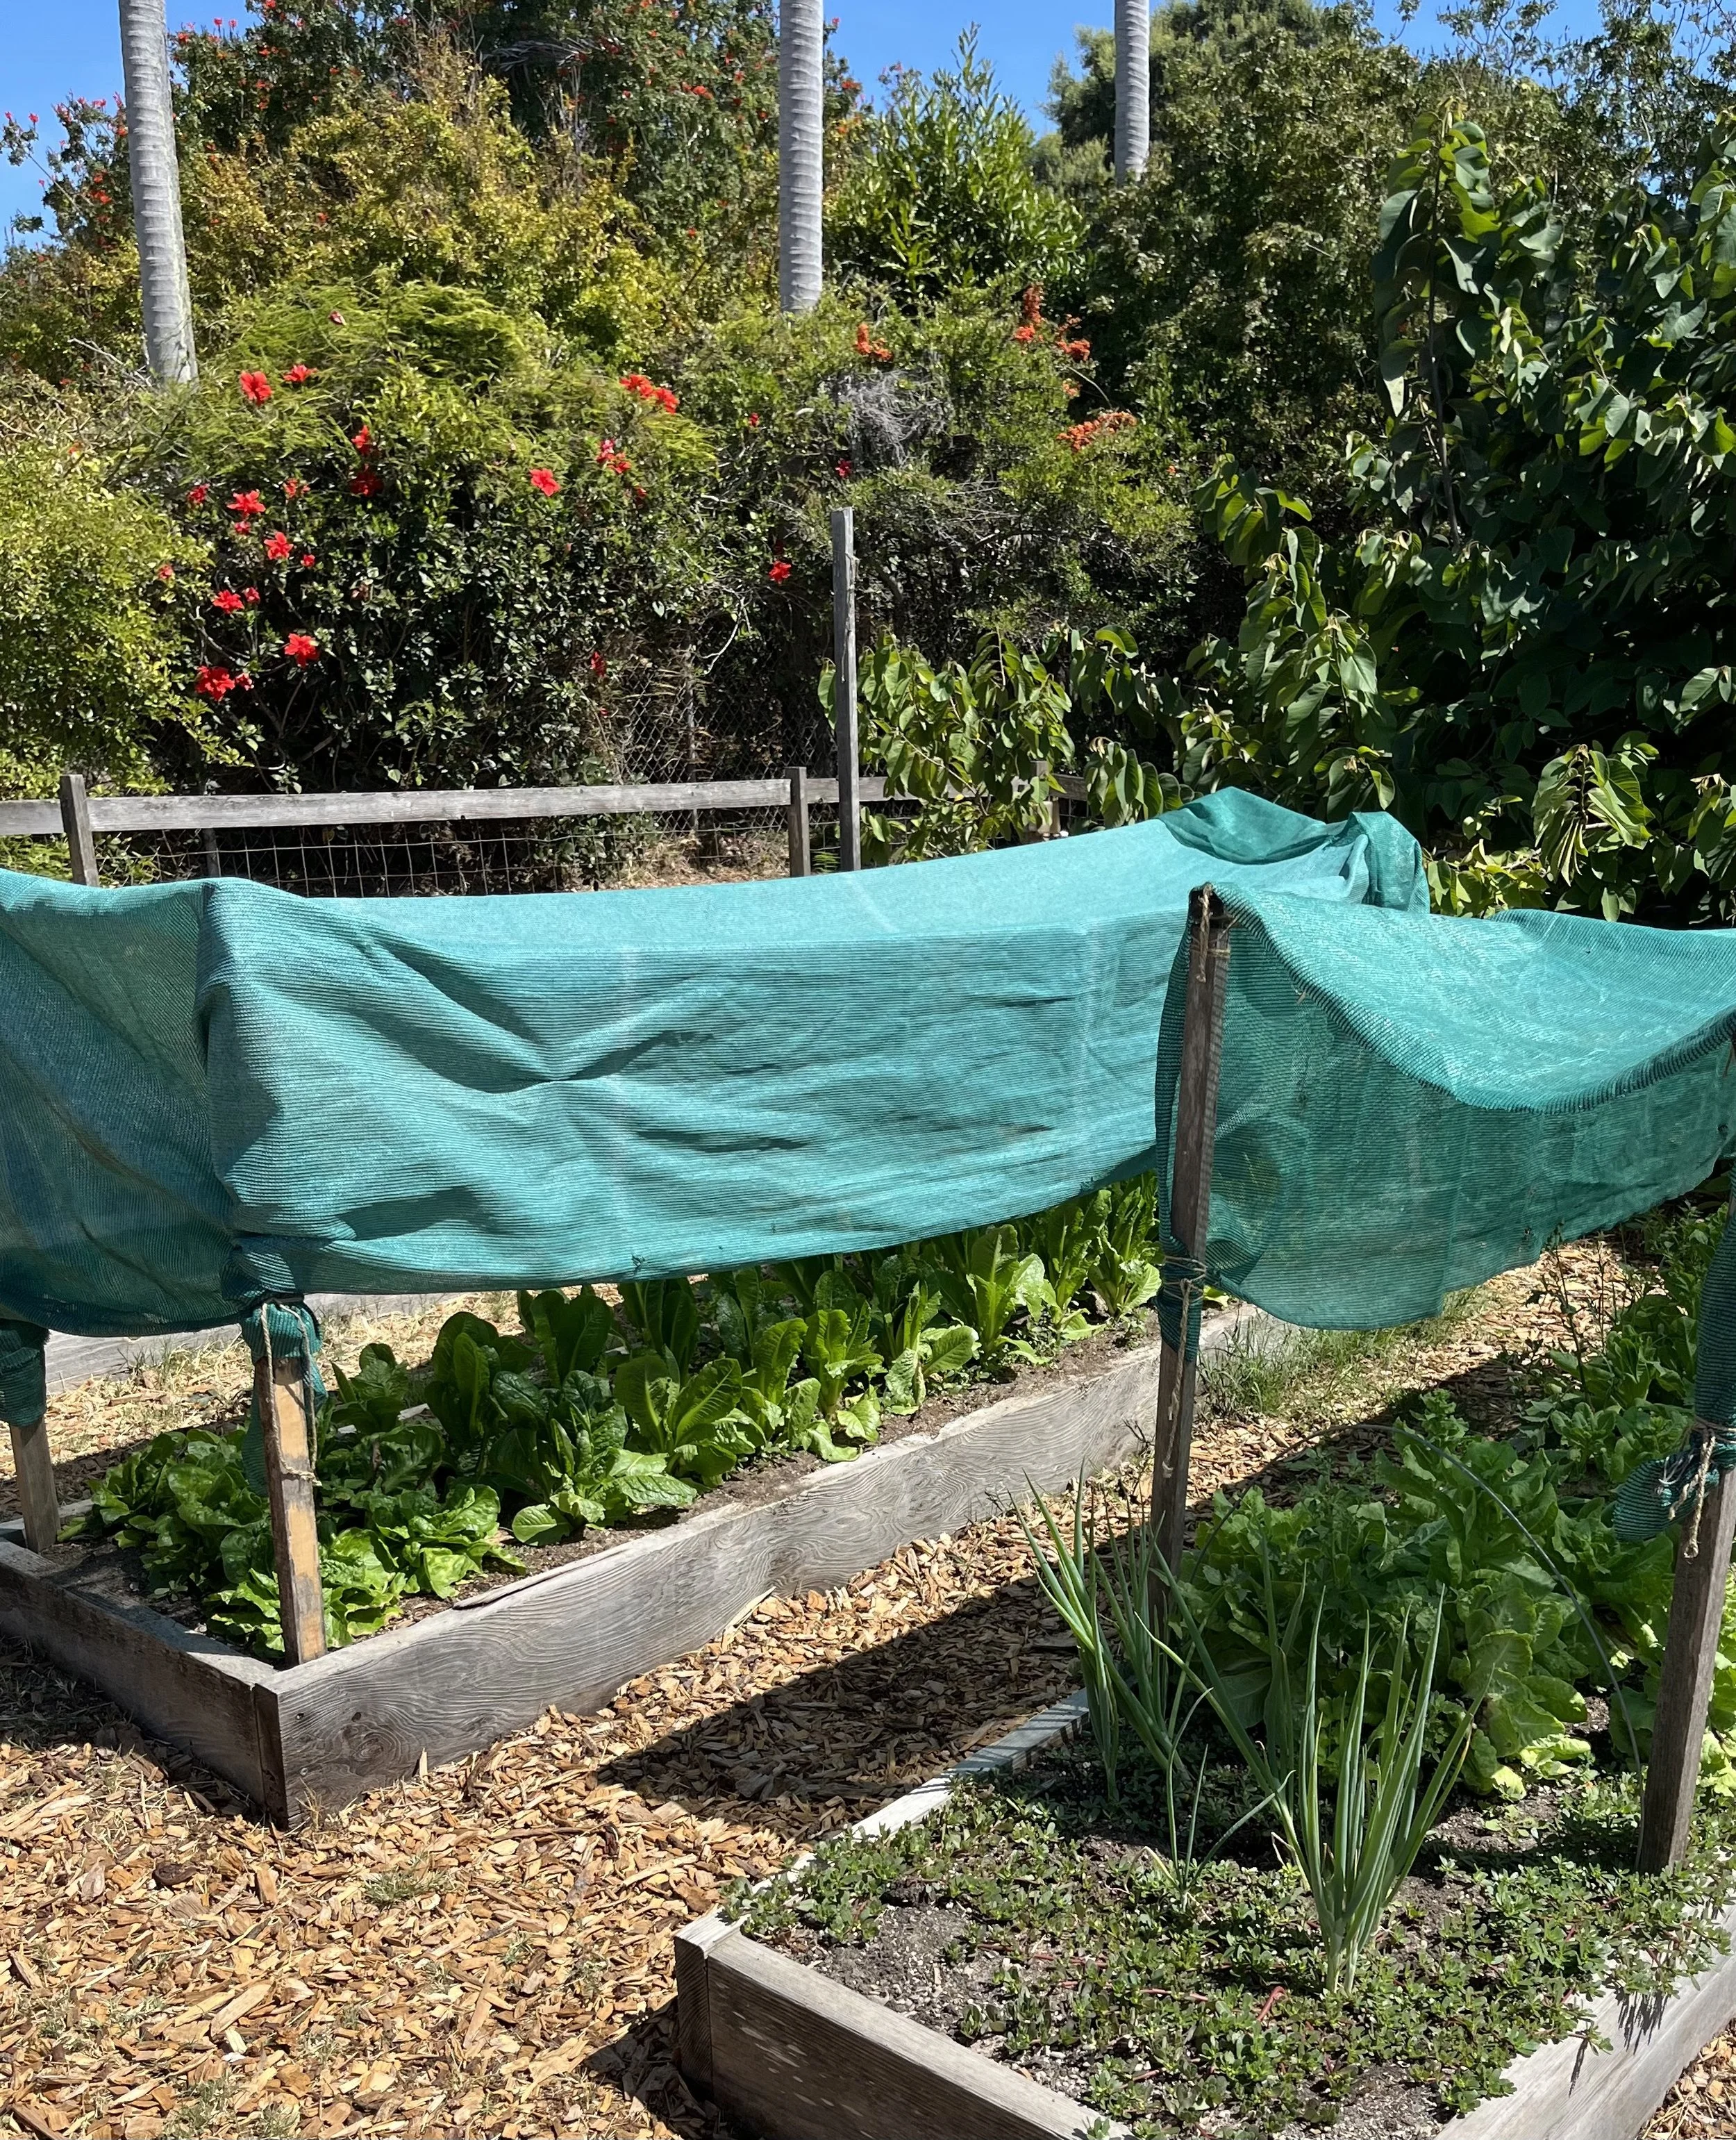
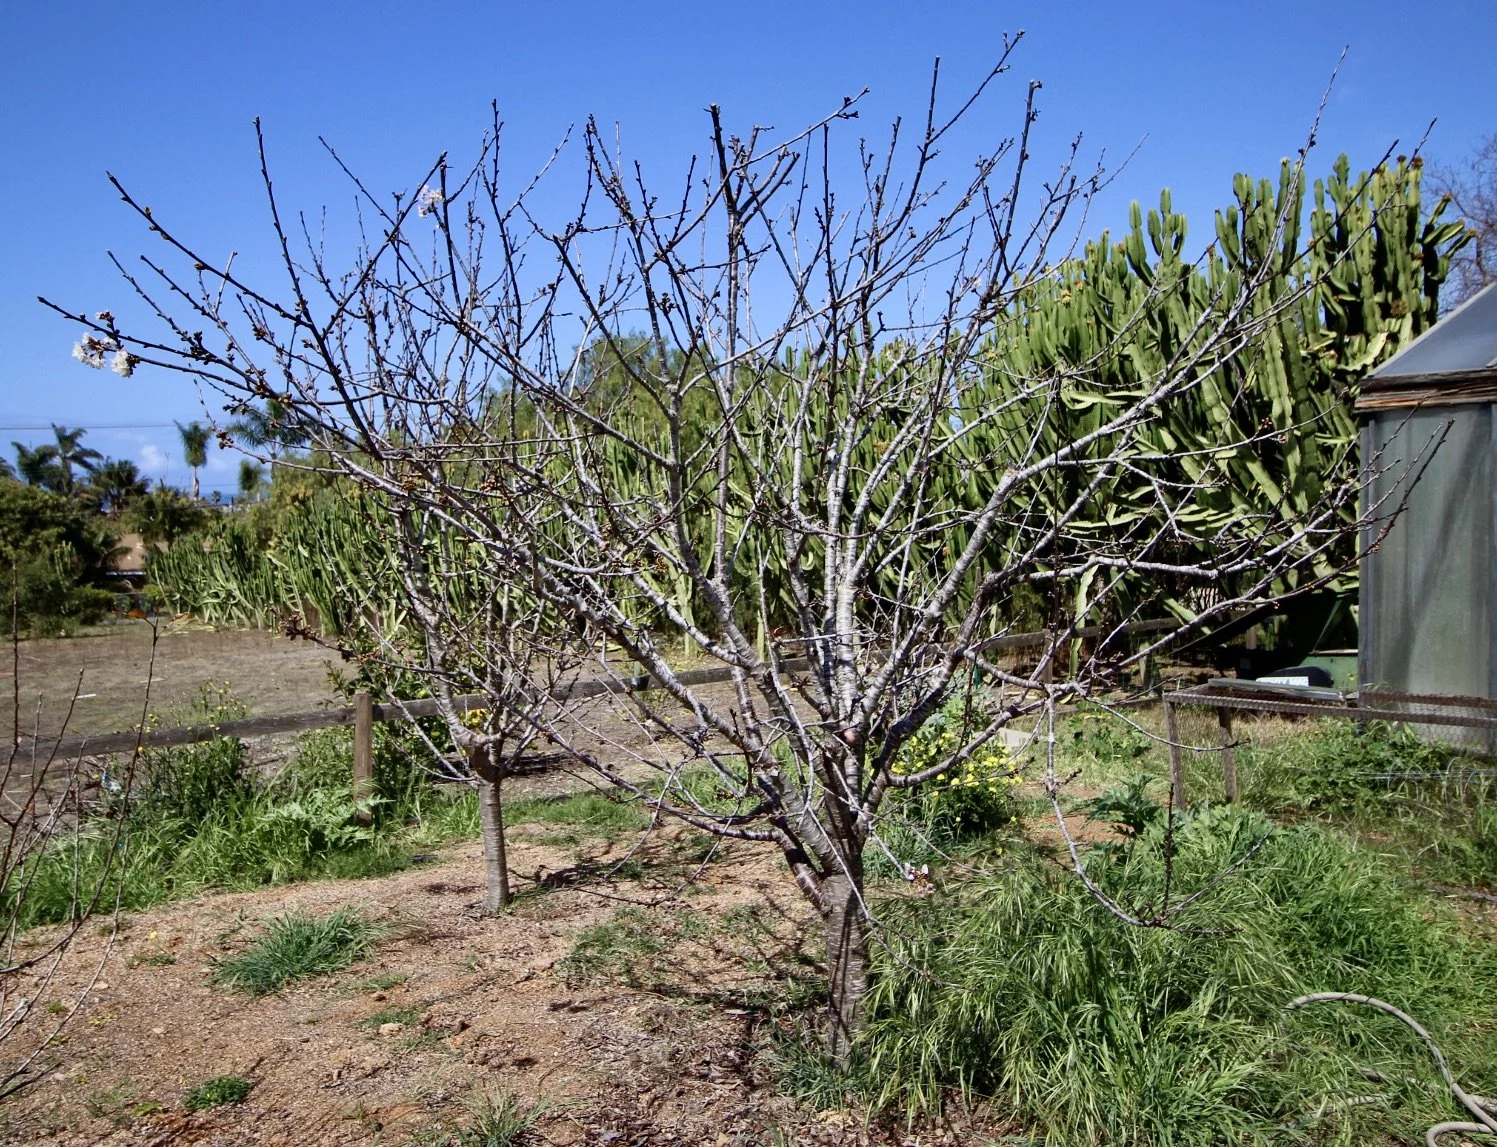
garden Derek Pruitt 2/21/21 garden Derek Pruitt 2/21/21 In My Garden: Fruit Trees, Preparations for Summer Fruit Read More
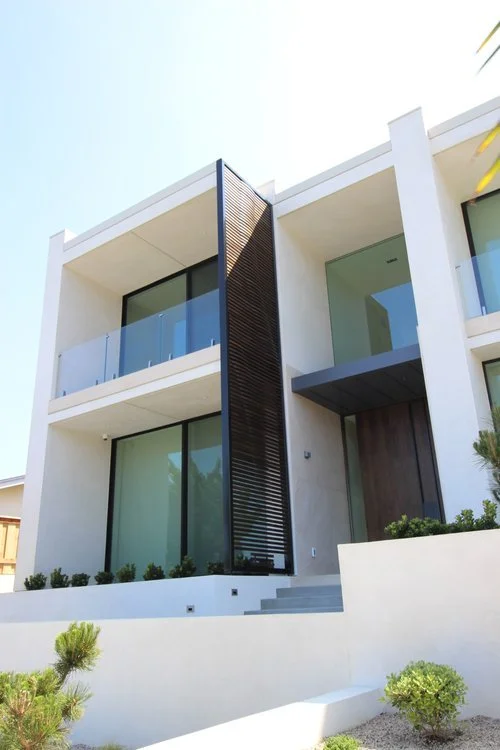
Doors Derek Pruitt 2/17/21 Doors Derek Pruitt 2/17/21 Classical Doors for a Palm Desert, California Home Read More